Azure Authentication for Microsoft Exchange Online
By integrating with Microsoft Azure, Shinydocs Cognitive Suite can operate with Microsoft applications, such as Office 365 Exchange Online and OneNote — maintaining secure and compliant access to cloud applications with policy-based access controls.
The following document describes how to enable Azure authentication for Microsoft applications, using Office 365 Exchange Online as an example.
Table of Contents
Register Shinydocs Software with Azure
The first step of the process is to register your Shinydocs software with Azure, so that it can access Office 365 Exchange data. If Shinydocs is already listed as a registered application, skip this step.
Step by step:
Open Microsoft Azure. In the upper left corner dropdown menu, navigate to Azure Active Directory.
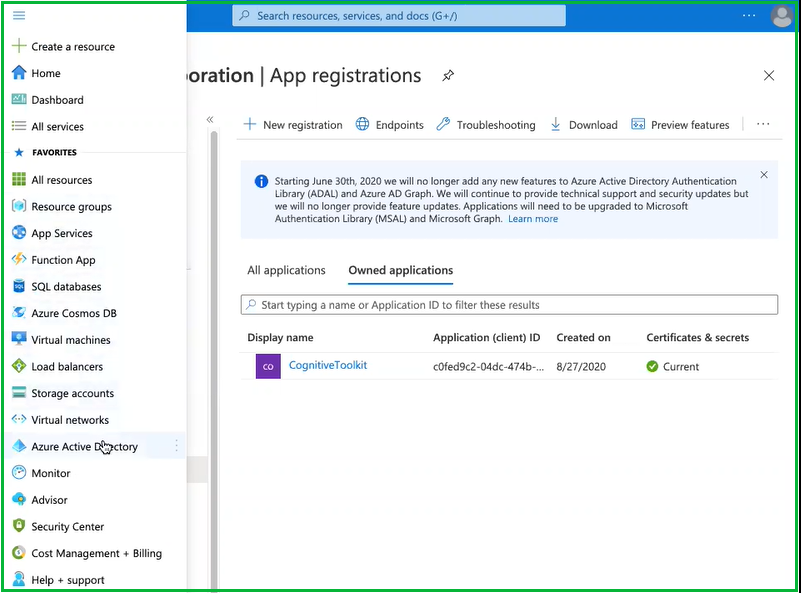
From the sidebar menu, select App registrations

Select + New registration

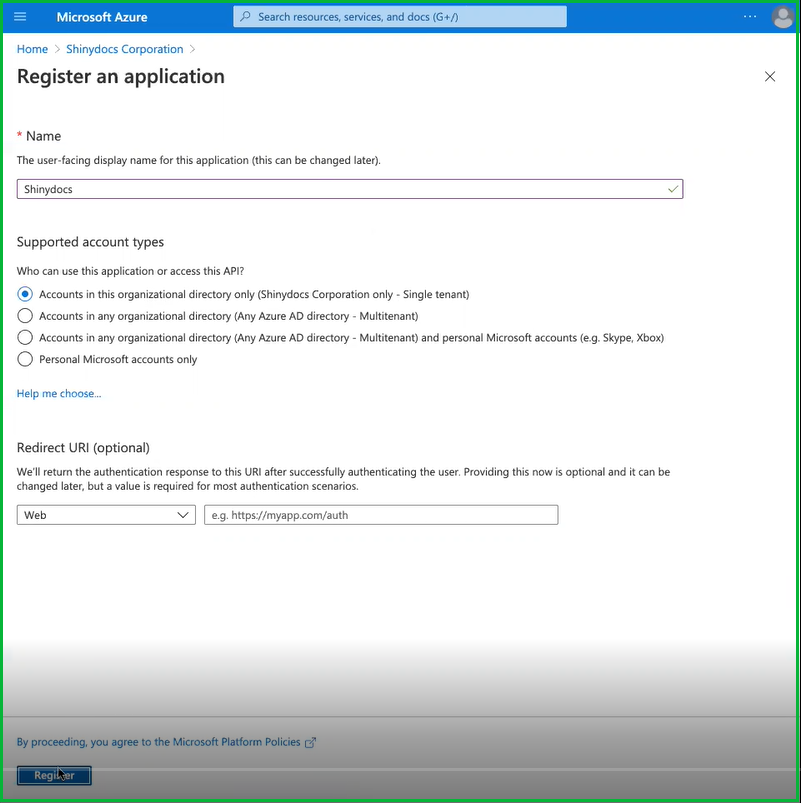
Enter a name for the application. In this case, we used “Shinydocs” as the application name.
Select who, within your organization, can use or access the application. In most cases, the first option (Single tenant) will be selected (see below).
Enter a Redirect URl. This is optional at this point, but is required for most authentication scenarios. In this example, we used “https://myapp.com/auth”.
Select Register to continue…
Congratulations! You have successfully registered Shinydocs software with Microsoft Azure.
Permission to Access Office 365 Exchange Content
Now, it’s time to apply permissions to access content within Office 365 Exchange Online.
From the sidebar menu, select API permissions
Click on Add a permission
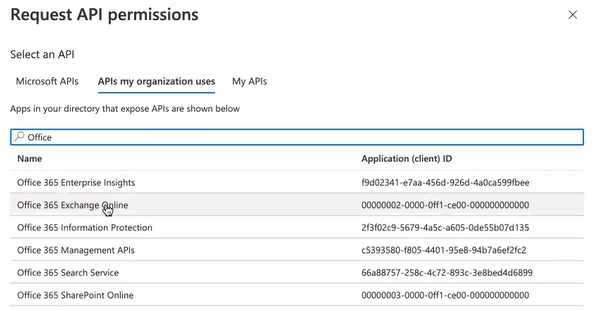
Select APIs my organizations uses
In the search box, enter Office 365 Exchange Online
Select Office 365 Exchange Online from the list
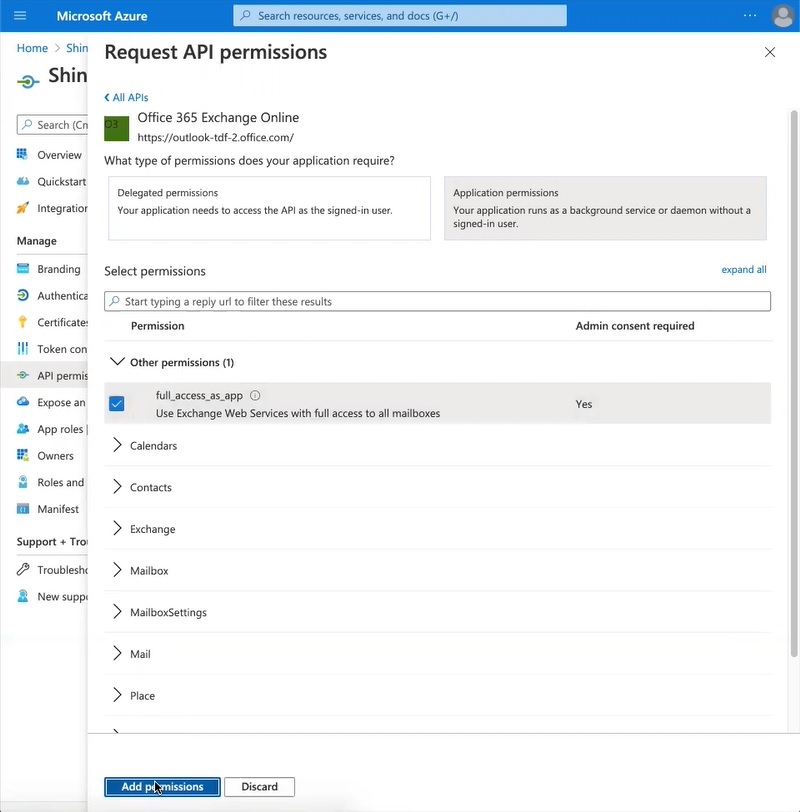
Select Application permissions
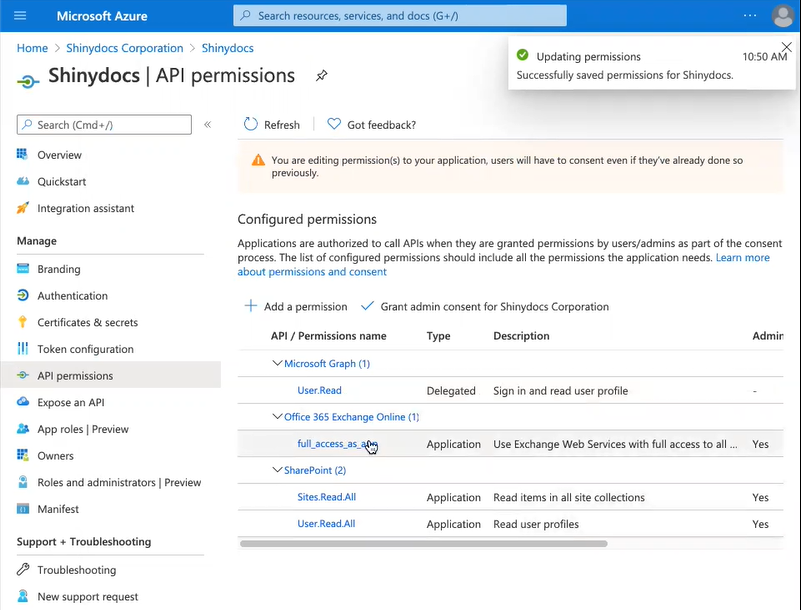
Add permissions as required. In this case, we selected full_access_as_app, which uses Exchange Web Services with full access to all mailboxes
Select Add permissions at the bottom of the page.
The API permissions should now be updated to included Office 365 Exchange Online.
Next, select Grant admin consent for Shinydocs Corporation.
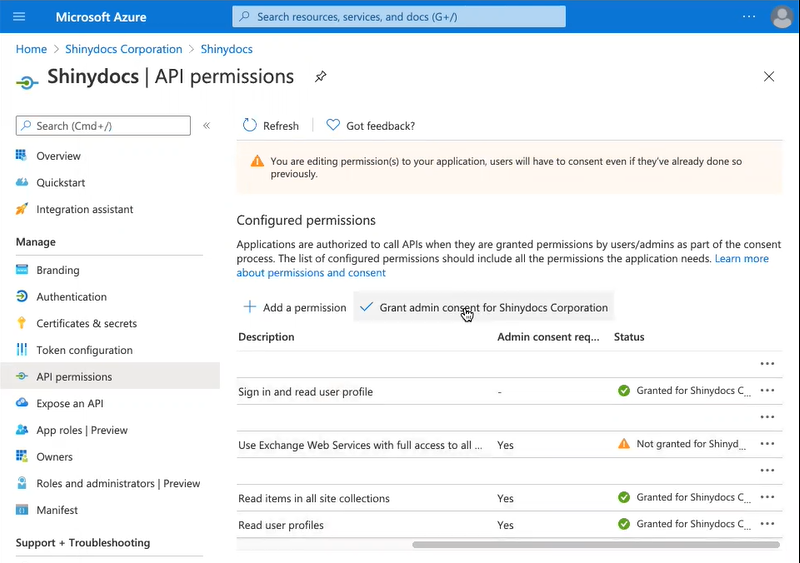
Select Yes to grant consent for the requested permissions for all accounts in Shinydocs Corporation.

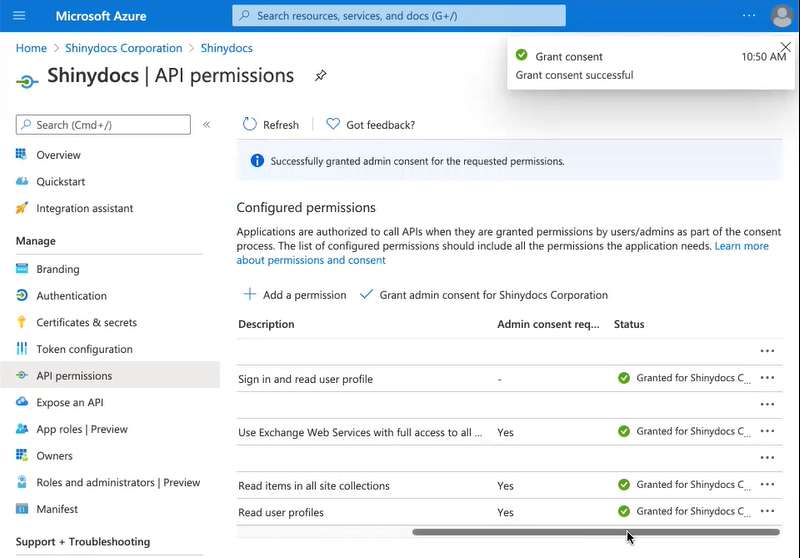
At the top of the page, there will be a notification that admin consent for the requested permissions was successfully granted.
Certificates & secrets
📔 A client secret only needs to be generated once for the Cognitive Suite. If one has already been created, skip to the next step.
From the sidebar menu, select Certificates & secrets
Select +New client secret
Enter a description for the new client secret. In this case, we used “ShinydocsAppSecret”.
Select an expiry date based on your company protocol.
Select Add.
Save your secret
The secret only needs to be generated once for all Shinydocs products.
The first time it is generated, copy the Secret Value immediately and save it as this value will be hidden if the page reloads. Store it in a safe place for re-use when installing other Shinydocs products.
In the left hand menu, open Overview
Record and save the following information in a safe place for re-use when installing other Shinydocs products.
- Azure AD® secret value: ___________________________________________________
- Azure AD® client (application) ID: ___________________________________________________
- Azure AD® tenant (directory) ID: ___________________________________________________
- Azure AD® redirect URL: ___________________________________________________
Note: The secret, client ID and tenant ID will be used within the Microsoft Exchange Source Settings file within the Cognitive Toolkit configuration. Information on configuring this and additional Exchange Permissions required can be found here: Microsoft Exchange
Note: If you plan to install Shinydocs Discovery Search, the secret, client ID, tenant ID, and the redirect URL will be required for configuring Azure AD® for Shinydocs Discovery Search. For more information, see Configuring Microsoft Online Settings.
Token Authorization
If you plan to configure Discovery Search for integration with Microsoft Online applications, you must configure the tokens that will be issued from the authorizing endpoint. Please ensure Token Authorization is configured in Azure AD® as described in Preparing for Integration of Microsoft Online Applications with Discovery Search.