Configuring Result tags
Overview
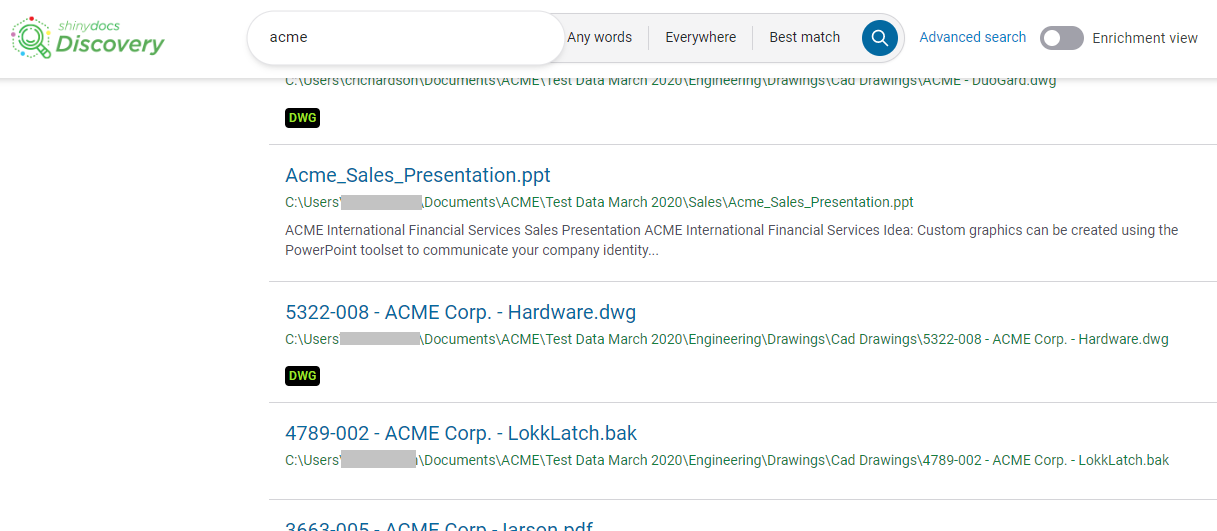
Result tags can be used to graphically tag documents, grouped by index fields. For example, an administrator can assign colors or styles to various extension values. An administrator might assign Console to the extension value “dwg” in this example.
Users who have completed a search will see the configured tag appearing for CAD drawing file types.
Adding or editing a result tag
From the Admin Panel, click Result tags menu item
To create a new result tag, click + Add result tag button
Select a value from the Index field name dropdown (the field must not be an array)
To edit an existing result tag, click the Edit button of the Index field you want to update
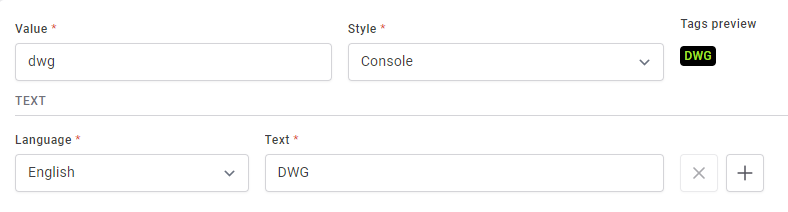
Enter the value of the index field, that you want to graphically tag, in the Value field
Select a style or color from the Style dropdown
Preview the style or color in the Tags preview area, to the right of the Style dropdown
Select a language and the text you would like to see in the tag
This will update the Tags preview area also
Click the Save button to finish or click the +Add tag button to add more
We recommend an IIS restart after changes are saved in the Admin Panel.