Configuring Azure Authentication for Microsoft SharePoint Online for use with Shinydocs Pro
By integrating with Microsoft Azure, the Shinydocs Pro software can operate with Microsoft SharePoint Online — maintaining secure and compliant access to this cloud application with policy-based access controls.
The following document describes how to enable Azure authentication for Microsoft SharePoint Online.
Note that this process does require certificates, which are used by Azure to prove the Shinydocs application’s identity when requesting a token. You need two files, a .cer file with the public key which you upload to Azure, and a .pfx file with the private key that you add to the Shinydocs software.
These files are often provided by an organization’s IT or Network team.
A self-signed certificate can be used but is not advised depending on your organization’s infrastructure and security policies. More information on Azure and Self-Signed Certificates can be found here. https://learn.microsoft.com/en-us/entra/identity-platform/howto-create-self-signed-certificate
Table of Contents
Register Shinydocs Software with Azure
The first step of the process is to register your Shinydocs software with Azure, so that it can access SharePoint Online data.
Open Microsoft Azure.
In the upper left corner dropdown menu, navigate to Azure Active Directory.

From the sidebar menu, select App registrations

Select + New registration

Enter a name for the application. In this case, we used “Shinydocs Pro” as the application name.
Select who, within your organization, can use or access the application. In most cases, the first option (Single tenant) will be selected (see below).
The optional Redirect URl is not needed in this case.
Select Register to continue.

Permission to Access SharePoint Content
Now that the Shinydocs Application has been registered with Azure, it’s time to apply permissions to access content within SharePoint Online.
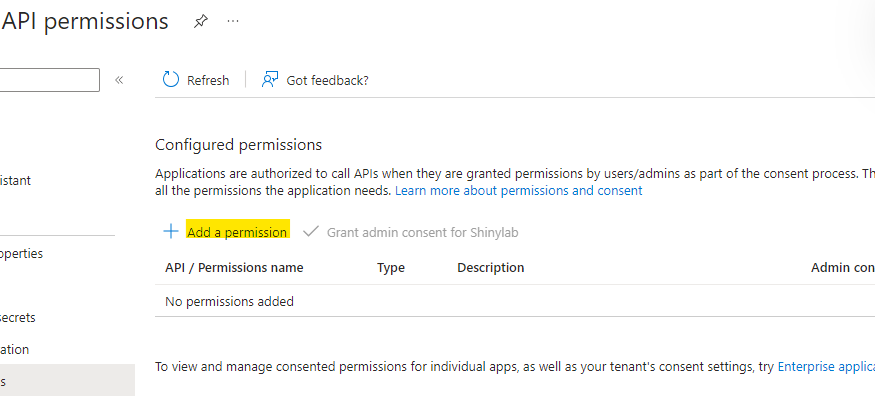
From the sidebar menu, select API permissions

Select + Add a permission
Add permissions for SharePoint by selecting SharePoint from the list of Microsoft Applications.

For the type of permissions, your application requires, select Application permissions

Select the required permissions at the site and user levels. At a minimum, the following items should be selected:
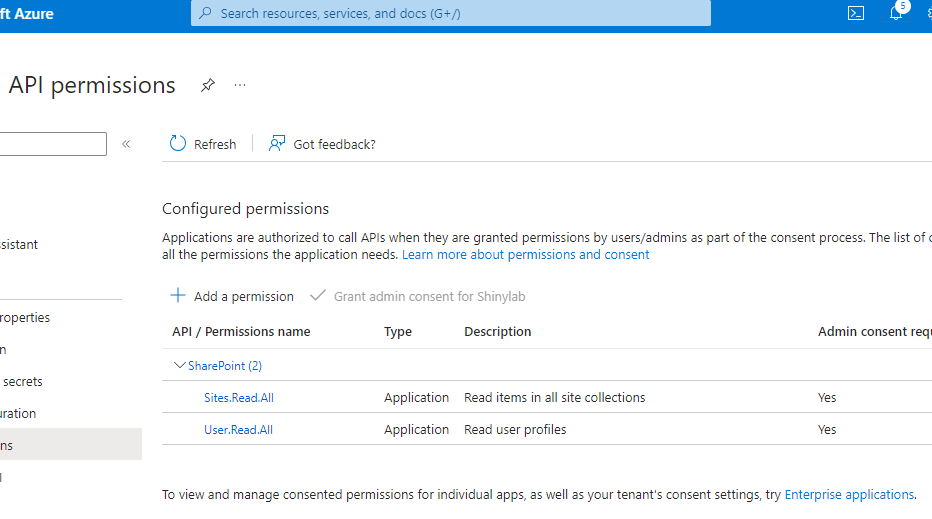
Under the Sites permissions, select Sites.Read.All to set permissions to read items in all site collections.
Under User permissions, select User.Read.All to set permission to read user profiles.
Select Add permissions at the bottom of the page.

The API permissions should now be updated to include SharePoint.
Next, select Grant admin consent for [Tenant Name].
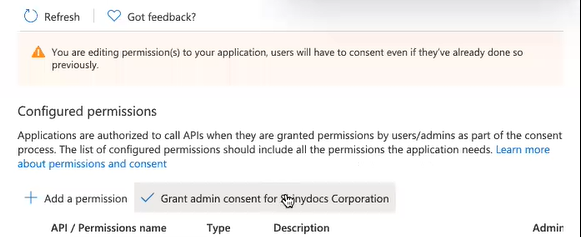
Select Yes to grant consent for the requested permissions for all accounts in [Directory Name].

At the top of the page, there will be a notification that admin consent for the requested permissions was successfully granted.
Upload Authentication Certificate to Azure
These steps require a .cer file.
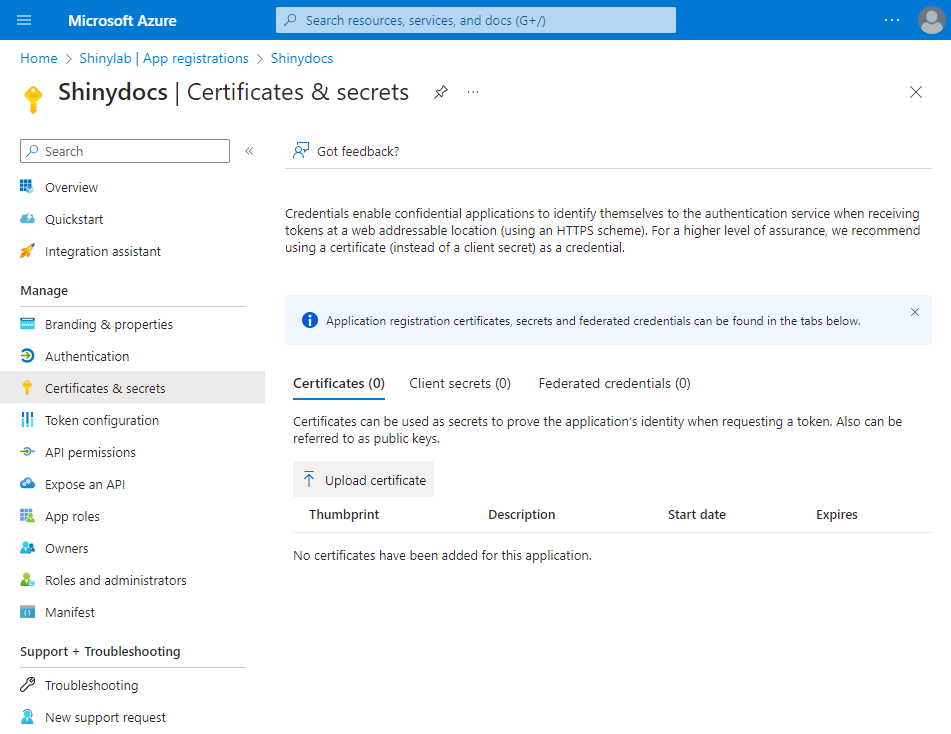
From the sidebar menu, select Certificates & secrets
Select Certificates
Select Upload certificate
Select the folder icon to browse for your certificate (.cer). Optionally, add a description to let other administrators know what this certificate is used for.
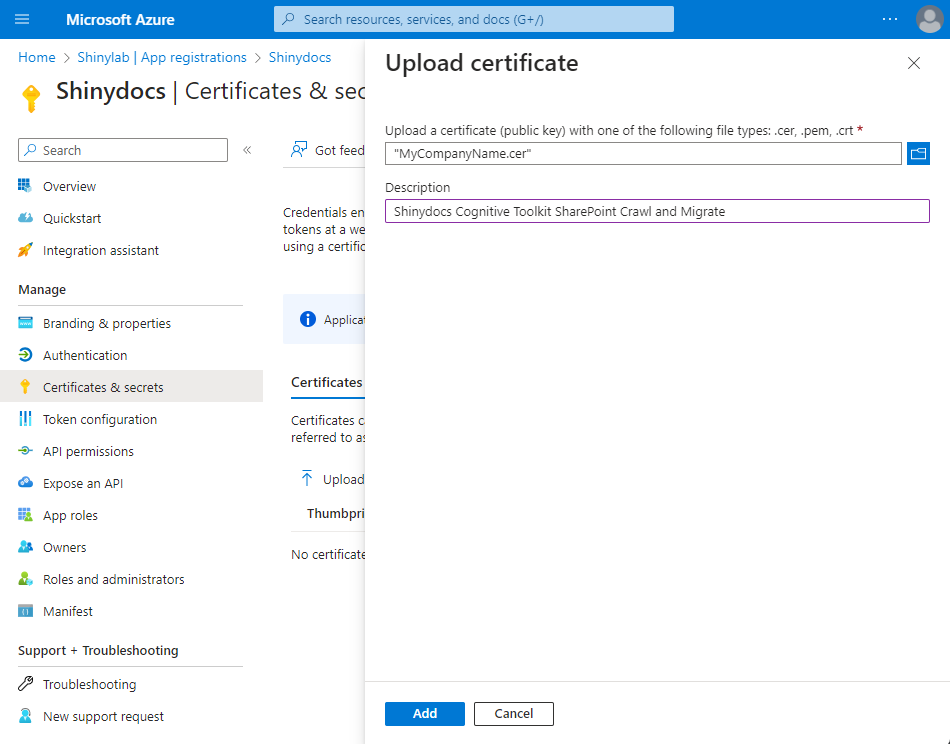
Select Add
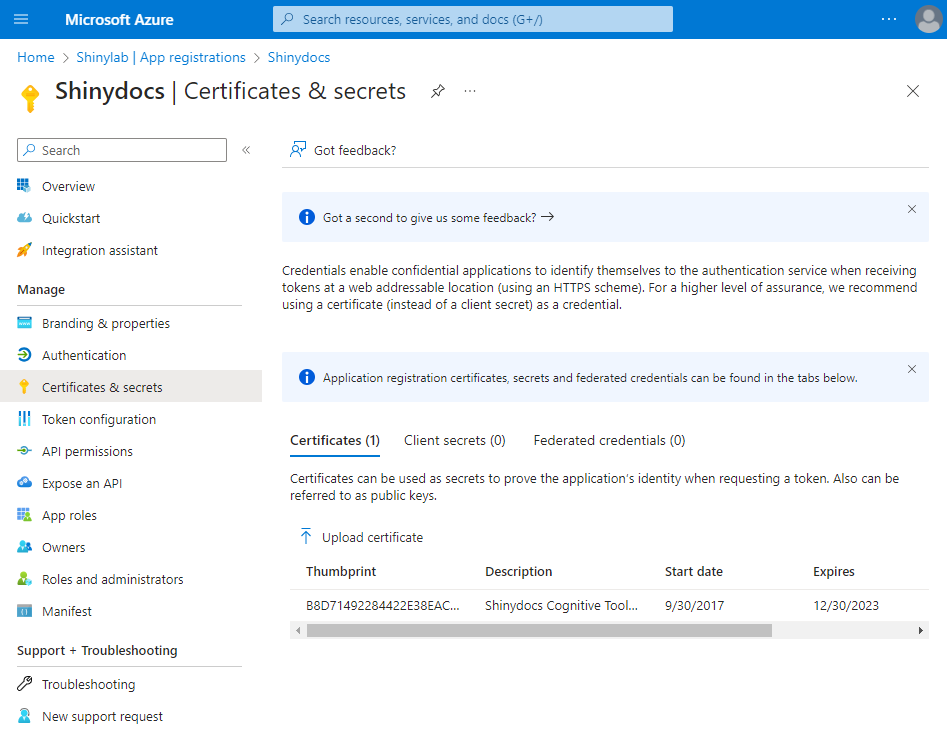
Verify that the certificate was uploaded successfully by confirming the certificate is shown under Certificates
In the left-hand menu, open Overview
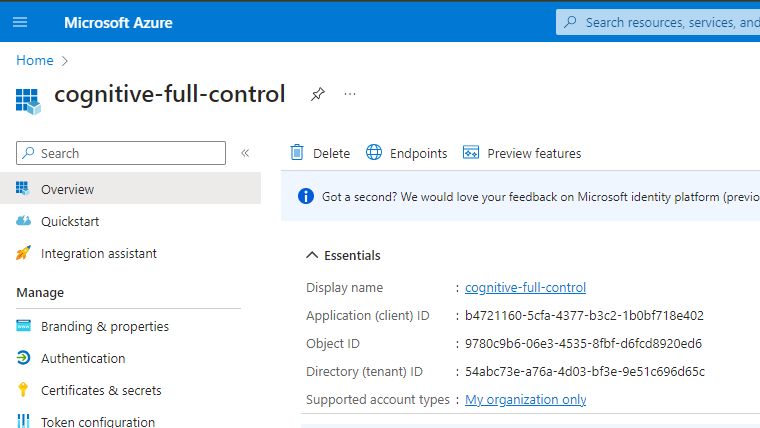
Note/save the following information for configuring Shinydocs Pro in later steps.
- Application (client) ID: ___________________________________________________
- Directory (tenant) ID: ___________________________________________________
Configure Shinydocs Control Center
These steps can be followed once Shinydocs Pro has been installed.
You will need the .pfx file from your certificate.
Moving the .pfx after setting the Certificate file location will cause any related tasks to fail.
If the .pfx file is moved, you will need to update the Certificate file location to the new path.
In Shinydocs Control Center (either in quick-start or + Add source):

Under Type, select Sharepoint Online
Under Tenant URL, enter the root URL of the Sharepoint site (https://acmecorp.sharepoint.com/)
Under Application ID, enter the Application (client) ID previously noted
Under Tenant ID, enter the Directory (tenant) ID previously noted
Under Certificate file location, enter the path of the .pfx file
Do not use double quotes around the path
Under Certificate password, enter the password for the .pfx file. If your .pfx file does not have a password, leave this field blank
Under Site, leave this field blank to crawl all available sites. If you want to crawl a specific site, enter the URL to the site like this:
CODEhttps://acmecorp.sharepoint.com/sites/ACMEhomeSelect Start now
Congratulations! You should now be crawling your organization’s SharePoint content.