Installing Enterprise Search for Shinydocs Pro
Prior to Shinydocs Pro 3.0.1, Search was a separate installation. Since Shinydocs Pro 3.0.1, Search is automatically installed in the same location as Shinydocs Pro.
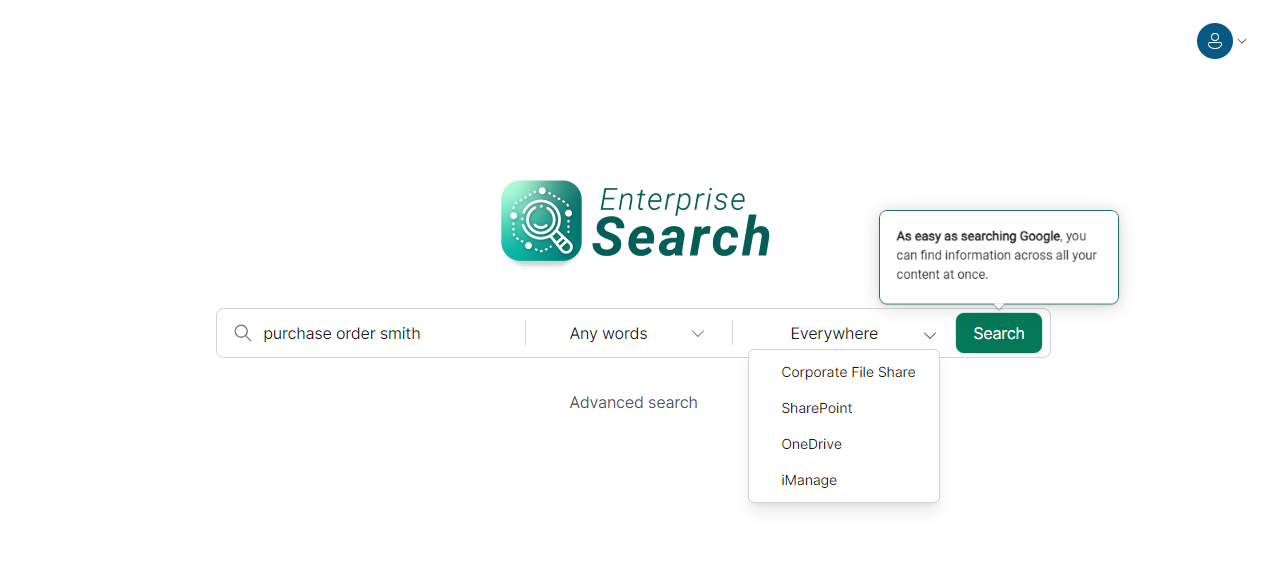
Empower your staff to find the content they need across all your file shares and network drives.
You can access Search from Shinydocs Pro Control Center by clicking on the Search icon in the navigation menu.
When Shinydocs Search is installed initially, data crawled with Shinydocs Pro is available immediately in Search without permission-checking. This should only be used for testing purposes and be properly configured with permission-checking. Please see our article https://help.shinydocs.com/shinydocs-pro/24.2.0/limiting-discoverable-items for more details.
Shinydocs Pro Search is an ASP.NET Core application running with Kestrel web-server technology. If you would like to host Search in Microsoft Windows IIS, please follow the information in this guide: Shinydocs Pro Enterprise Search with IIS.
Guides to help with your deployment of Shinydocs Pro Enterprise Search
https://help.shinydocs.com/shinydocs-pro/24.2.0/how-to-configure-the-windows-service-account-for-u
https://help.shinydocs.com/shinydocs-pro/24.2.0/setting-up-kerberos-authentication-for-shinydocs-p
https://help.shinydocs.com/shinydocs-pro/24.2.0/how-to-create-signing-certificates-for-shinydocs-p
https://help.shinydocs.com/shinydocs-pro/24.2.0/setting-up-shinydocs-enterprise-search-for-intrane
Previous versions of Search
Shinydocs Pro versions 3.0.1 and earlier do not automatically install Enterprise Search. This document describes the steps necessary to install Enterprise Search manually based on the software downloads you would have received from Shinydocs.
The steps described in this document are not required if you are installing Shinydocs Pro 3.1 or above.
Introduction
Enterprise Search uses Microsoft® Internet Information Services (IIS) for Windows Server and Windows Authentication with Kerberos to authenticate a user from an internet browser. This guide outlines the Shinydocs™ Enterprise Search prerequisites and the steps to installing Enterprise Search, covering:
Setting up the site
Setting up Secure Socket Layer (SSL)
Configuring Kerberos pass-through
Software
Enterprise Search is an application that runs on Microsoft Internet Information Services (IIS).
Component | Version |
|---|---|
Internet Information Services (IIS) | Windows Server 2019: IIS Version 10.0 or above Windows Server 2022: IIS Version 10.0 or above |
Microsoft .NET Framework | 4.7.2 or higher |
Shinydocs Enterprise Server | Installation files |
Internet Information Services (IIS) Features
Before installing Enterprise Search, please enable and install the following Windows Roles and Features. These can be enabled in Windows Server Manager > Add Roles and Features Wizard.
Role | Location |
|---|---|
Web Server (IIS) > Web Server > Application Development Features | |
.NET Extensibility 4.x | Web Server (IIS) > Web Server > Application Development Features |
Windows Authentication | Web Server (IIS) > Web Server > Security |
Installing Enterprise Search
Extract shinydocs-search-<version>.zip to the directory where you want the application to reside
Ensure permissions are set properly for the extracted folder
Right-click on the extracted folder and go to Properties > Security
Add IIS_IUSRS to the permissions of the folder and give Read access
Ensure IIS_IUSRS or the Application Pool user has Write access to the Web.config file
Create the Enterprise Search site
Start Internet Information Services (IIS) Manager
In the Connections panel on the left side, expand the tree
Right-click on Sites and select Add Website
In the Add Website window, enter a Site name (for example, Enterprise Search)
Enter the Physical path to the extracted folder from Step 1 (for example, C:\Shinydocs\ Search\shinydocs-server-1.11.1.0-68)
Set the port you wish to use (44300 is recommended if configuring SSL)
Configure the Enterprise Search site authentication in IIS
Select the Enterprise Search site you created in the previous steps
In the middle panel, under the IIS section, double-click Authentication
Enable Anonymous, Windows Authentication and ASP.NET Impersonation
Disable Basic Authentication, and Forms Authentication
Using IIS Manager Restart the Application
Setting Up Secure Sockets Layer (SSL) on the Enterprise Search Site
Start Internet Information Services (IIS) Manager
Add HTTPS binding to the site
With your site selected in the Connections panel, select Bindings in the Actions panel
In the Site Bindings window, click Add
Select “https” from the Type dropdown
Ensure IP address is “All Unassigned” (for typical deployment)
If your organization has multiple websites running on a single IP address, update the Host name field with the domain or subdomain value
Specify the Port (typically port 44300 for SSL)
Select the ShinydocsPlatformSelfSigned SSL certificate dropdown if you have already used the Platform installer.
Click OK