Adding your first filters to Shinydocs Search
Shinydocs Search allows administrators to create powerful filters that enable users to find data quickly with a variety of useful options and interfaces. When you first get started with Search, we pre-populate your Search setup with great filters that will help with your initial discovery phase, including:
 PII rules | 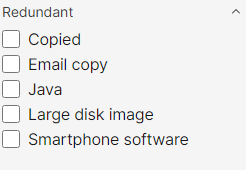 Redundant ROT rules | 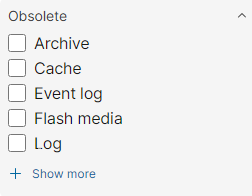 Obsolete ROT rules |  Trivial ROT rules |
Administrators can further customize these filters, remove them, or create brand new ones easily from the Shinydocs Search Admin panel.
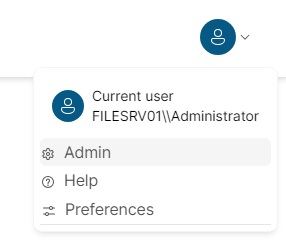
Click “Admin” in the user menu or go to https://<your_search>/admin
This tutorial will guide you through adding the following filters to an existing source:
File size range
Created date date-picker
Let’s get started!
📘 How to add, remove, or modify filters
Filters are configured in the Admin panel (Click “Admin” in the user menu or go to https://<your_search>/admin).
Navigate to the Admin panel in search.
Click Roles in the navigation menu.
Click Edit on the role you want to edit the filters for, Default Role is the built-in default role and is the one we will be working with today.
In the Default Role role configuration, click Filters configuration.
📘 File size range
This type of filter is great when you want to search for content which contains a numeric field to search on like file size which is a field called length. This filter will allow users to search for files with a minimum length (size) of X and a maximum length of Y.
Once in the Default Role role - Edit filters page, click + Add filter.
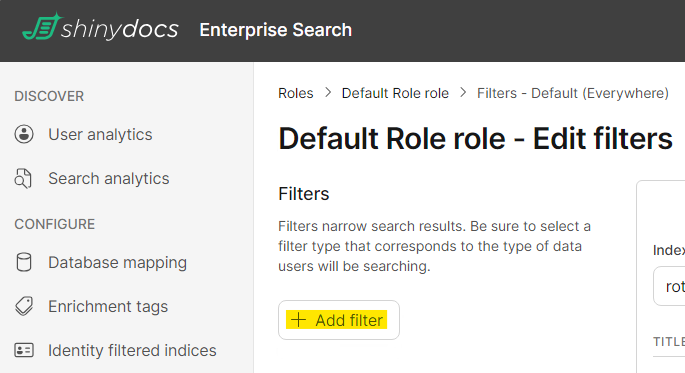
Scroll to the bottom of the page to find your new, blank, filter.
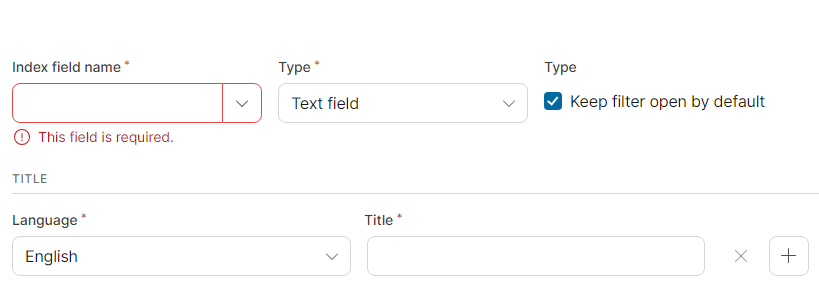
Enter and select the following:
Index field name: length
Type: Range
Leave Keep filter open by default checked if you want this filter to be open (expanded) by default
Units: Enter Bytes
Title: Enter File size
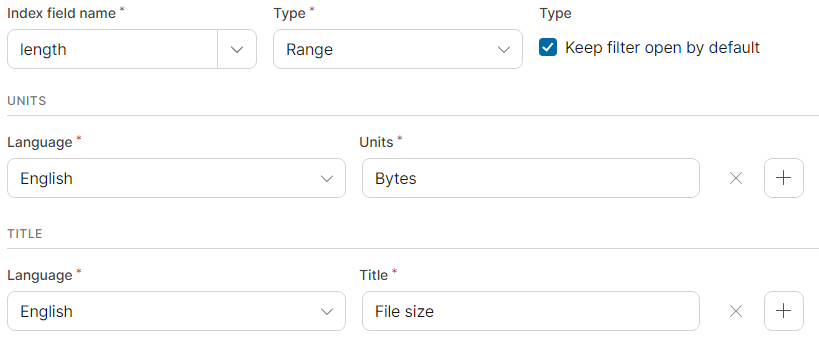
Yours should look just like this
Click Save changes.
Congratulations! You have successfully set up a range filter in Shinydocs Search!
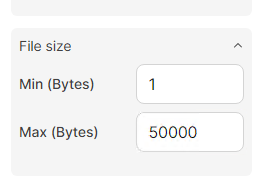
Users can now enter the minimum or maximum file size (in bytes) and Search will dynamically adjust the results to include only those that match these conditions.
📘 Created date filter
The ability to filter by dates can be invaluable when searching for historical or archived content. This filter will allow users to select a date range for the created date of results.
Once in the Default Role role - Edit filters page, click + Add filter

Scroll to the bottom of the page to find your new, blank, filter

Enter and select the following:
Index field name: creationTimeUtc
Type: Date
Leave Keep filter open by default checked if you want this filter to be open (expanded) by default
Leave Show quick select option in date picker checked if you want to enable quick filters (Last 24 hours, Last 7 days, Last 30 days)
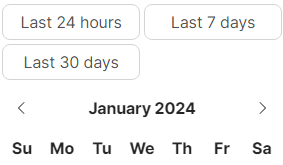
Title: Enter Created date
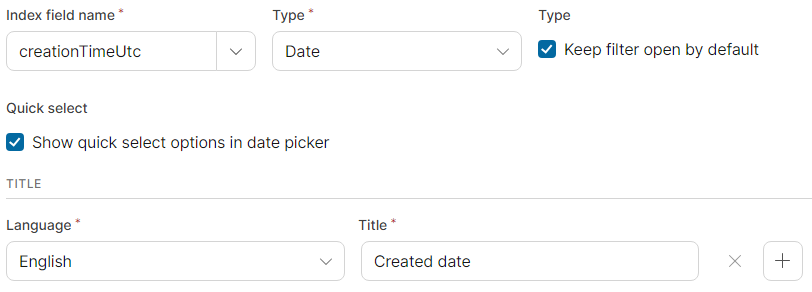
Yours should look just like this
Click Save Changes.
Congratulations! You have successfully set up a date filter in Shinydocs Search!
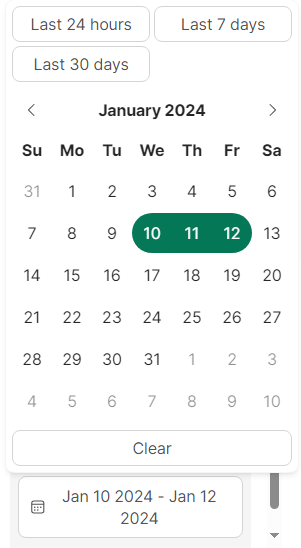
Users can now filter search results by the created date (creationTimeUtc) of content, you can easily add an additional filter for the modified date (lastWriteTimeUtc) following the same steps.
