Relocating the Shinydocs Search Engine Data Folder
For disk management purposes sometimes an implementation might require the relocation of the Search Engine’s data to an alternate drive, i.e. from C: drive to E: drive. This article outlines the process.
To relocate the OpenSearch data folder, use the following steps:
Create a new folder in the desired location, i.e. E:\SearchIndexes
Ensure the service account for the Shinydocs Search Engine has full access to this folder.
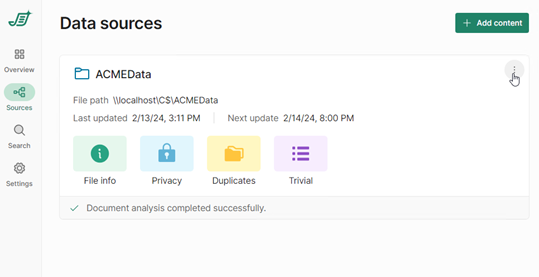
Confirm that all crawling has been stopped within Shinydocs Pro by inspecting the available data sources:

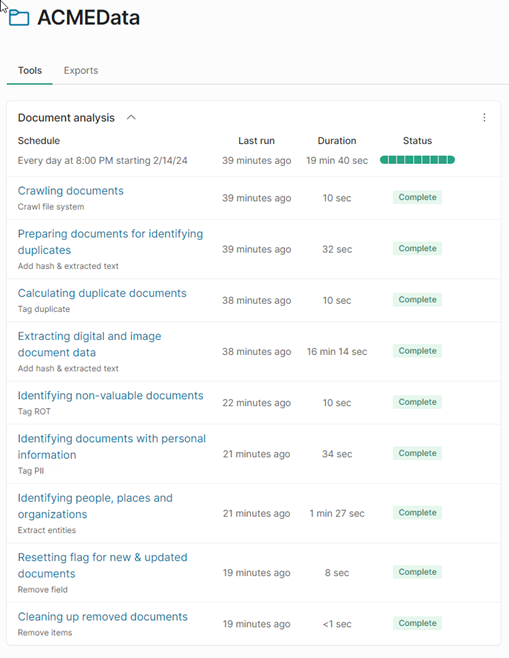
Click on the “hamburger” menu in the top-right corner.
Ensure that all actions are complete and the Status bar is all green.

Open the Services App (services.mcs) from the Windows Start menu.
Locate the Shinydocs Search Engine, right-click on the service:

Stop the service.
Using Windows Explorer, locate the folder C:\Program Files\Shinydocs Professional\SearchEngine
Open the config folder and locate the opensearch.yaml file.
Create a backup of this file (i.e. opensearch.yaml.bak) then open the original in Notepad++ or Notepad.
Locate the remarked-out entry for #path.data:
Add a new entry below the original example for your new location:

Save this file.
Return the folder C:\Program Files\Shinydocs Professional\SearchEngine and locate the data folder.
Cut this folder, then move to the new location (E:\SearchIndexes) and paste the data folder into that location.
Return to the Services App and start the Shinydocs Search Engine.
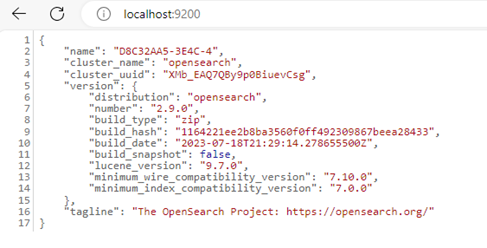
Wait for 2 to 3 minutes then access http://localhost:9200 from the browser.

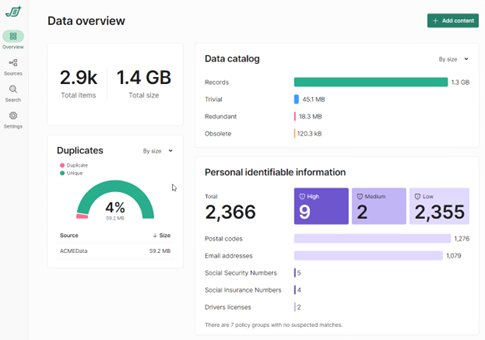
You may then connect to the Shinydocs Professional Overview (https://localhost:5001/overview)

