Mapping folders as drives from Content Server's Personal & Enterprise Workspace in the Shinydrive Server
This article refers to the Shinydrive V2 Server
Add folders to your Personal and Enterprise Workspace as drives.
Prerequisites
Content Server has been added as a "Source" before doing this.
Know the Root ID of the folder, you want to MAP as a drive. To obtain this please follow the steps below:
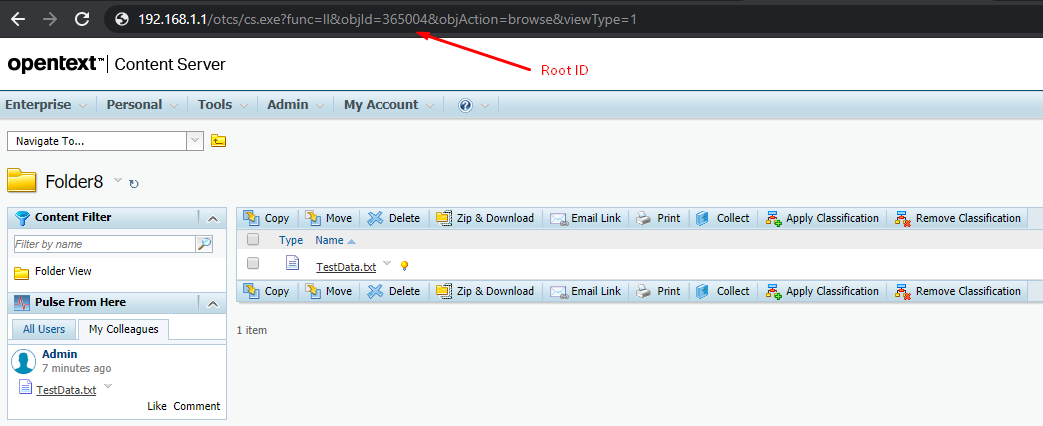
Within Content Server navigate to the folder of which you want to MAP as a drive
Copy the Root ID that is within the address bar
Mapping the folder as a drive
Log in to the Shinydrive Server Admin Panel.
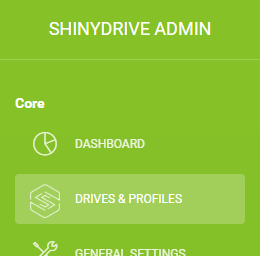
Navigate to DRIVES & PROFILES from the panel's sidebar.
Click "+ Add Drive".
Enter your desired details for Drive Name, Drive Letter, and select Content Server as the Source.
Your configuration should look something like this: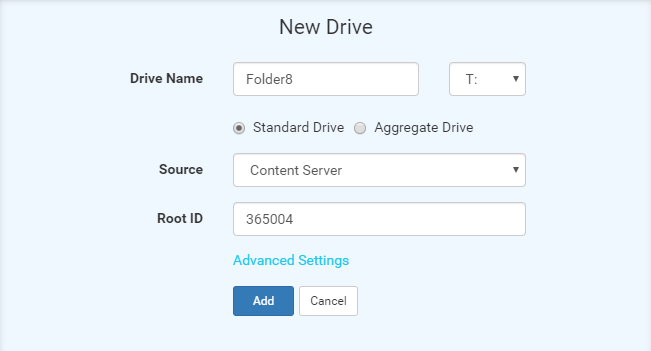
In the "Root ID" field, enter the Root ID that you copied as the pre-requisite and select Save.
Now you will need to assign the drive you just created to a profile and select Save.
If you already have ShinyDrive running. Restart ShinyDrive or disconnect and reconnect to ShinyDrive.
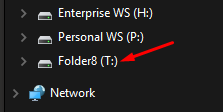
Your new mapped folder should now be available in Windows Explorer.