Configure Shinydocs Pro Control Center for Laserfiche
This connector is in early access. To enable it, you must enable Laserfiche Connector in https://localhost:9701/flags.
Requirements
The server Shinydocs is installed on will require internet access to reach Laserfiche.
You must be a Laserfiche administrator to configure this connector
Step 1 - Laserfiche Set Up
Before connecting Shinydocs Pro to Laserfiche, you must configure the required identities and applications in your Laserfiche Cloud account. This includes creating a service principal, granting it full rights, creating a service application for Shinydocs Pro, and creating a Web App for signed in Laserfiche users.
You will collect four values during this process.
Service principal key
Access key
Web App Client ID
Web App Client Secret
You will enter these in Control Center later.
1. Create the Service Principles group
You can skip this step if you already have a service account type group with the below permissions.
Sign in to your Laserfiche Cloud administration portal.
Open the App picker
 in the top-right, select Repository Administration.
Click Users on the left nav-bar.
Select the Groups tab.
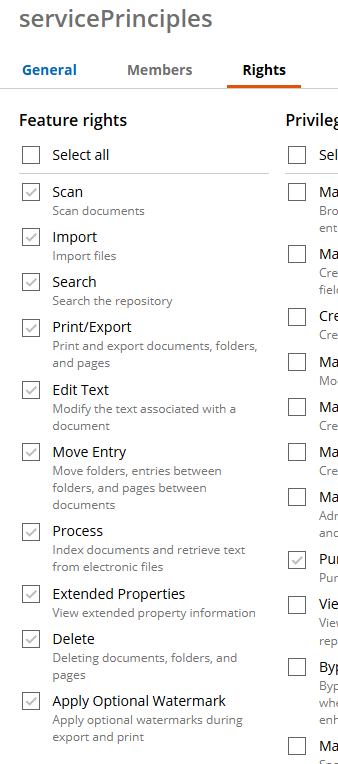
Create the group servicePrinciples, and provide it all Feature rights
2. Create the ShinydocsPro service principal in Laserfiche
Open the App picker
in the top-right, select Account.Select Users on the left-nav bar, then select the Service Principals tab.
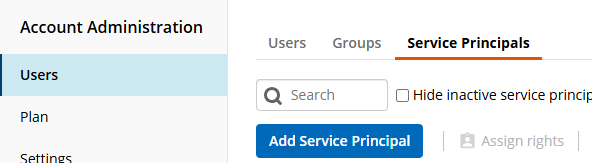
Click Add Service Principal.
Create a new service principal:
• Username: ShinydocsPro
• Display name: ShinydocsProAssign the service principal to all groups that require repository access (generally, add it to all of your existing groups for full coverage), make sure servicePrinciples group (or your permission equivalent group) is in the list.
Select Rights and apply the Full Rights preset. This gives the service principal full access needed for crawling and enrichment.
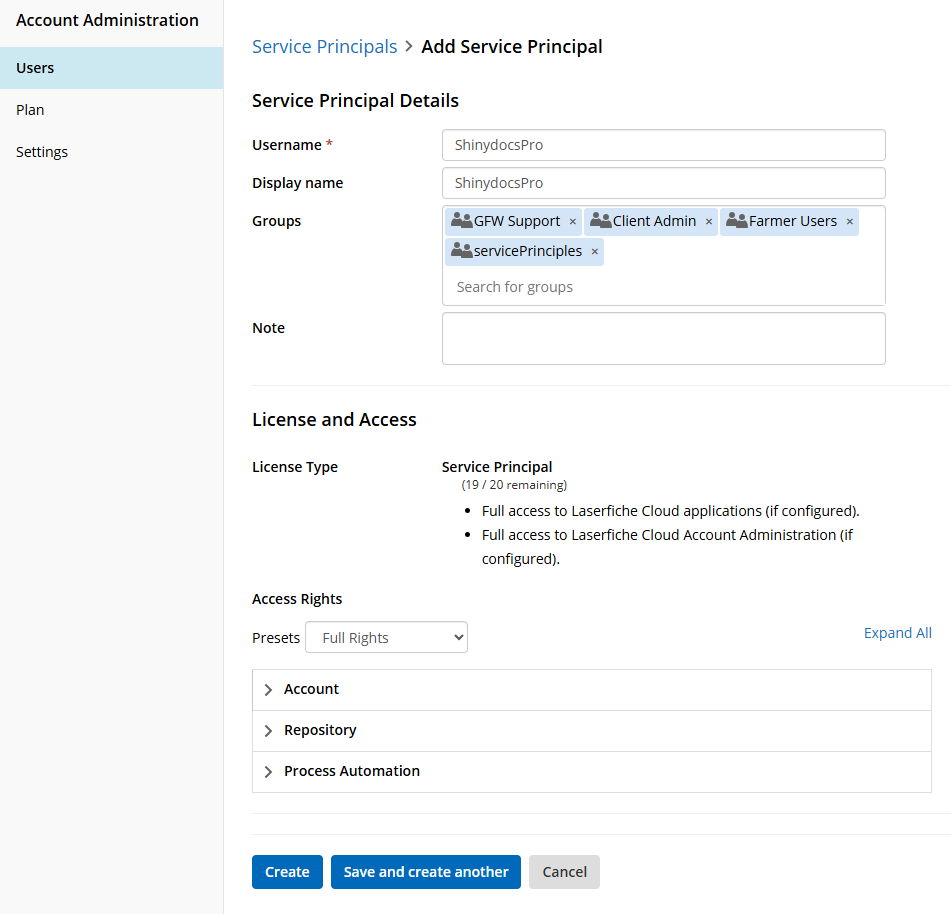
Click Create.
You will now be back at the list of Service Principals, select the ShinydocsPro principal from the list
Click Create Service Principal Key(s) to generate the service principal key.
✏️You can only view this key once, store this securely. You will need to enter it in Control Center.
Laserfiche automatically generates two, though you only need one.

3. Create the ShinydocsServices service in the Laserfiche Developer Console
Open the Laserfiche Developer Console in App picker
.Click the New button to create a new application.
Select Create a new app.
Select Service and provide it a name like ShinydocsServices. Click Create.
On the service configuration page, set Service Account to the service principal you created earlier (ShinydocsPro). Laserfiche calls this the service account field in the UI.
Open the Authentication tab.
Generate a new access key for ShinydocsServices.
Select Create a long-lasting ‘Authorization Key’ secrect used to obtain Laserfiche API Access Tokens.
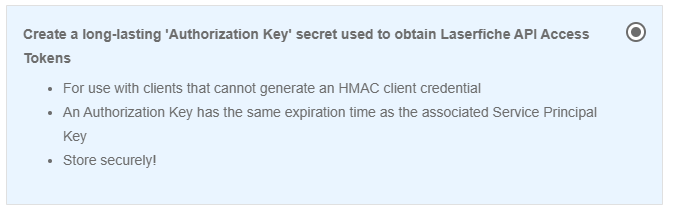
Click Next.
Enter one of the Service Principal Keys generated when the Shinydocs Pro service principal was created.
Click Create key.
✏️ Store the key in a safe place, you will need this later.
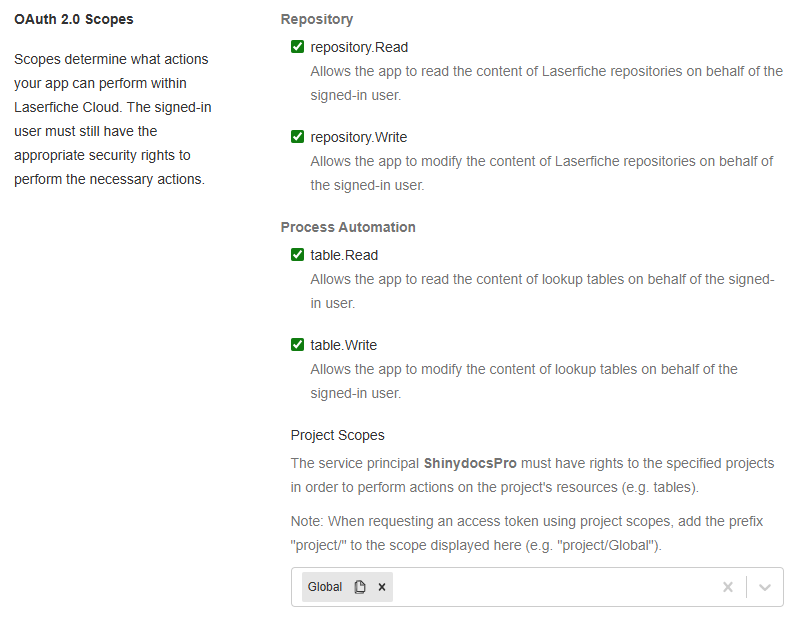
Near the bottom of the page, select all OAuth 2.0 Scopes & ensure all projects or Global is selected
Click Save.
3. Create the ShinydocsUsers Web App in the Laserfiche Developer Console
Next, we are going to add a Web App application, go back to the root of the Developer Console and click the New button.
Select Create a new app.
Select Web App and provide it a name like ShinydocsUsers, click Create.
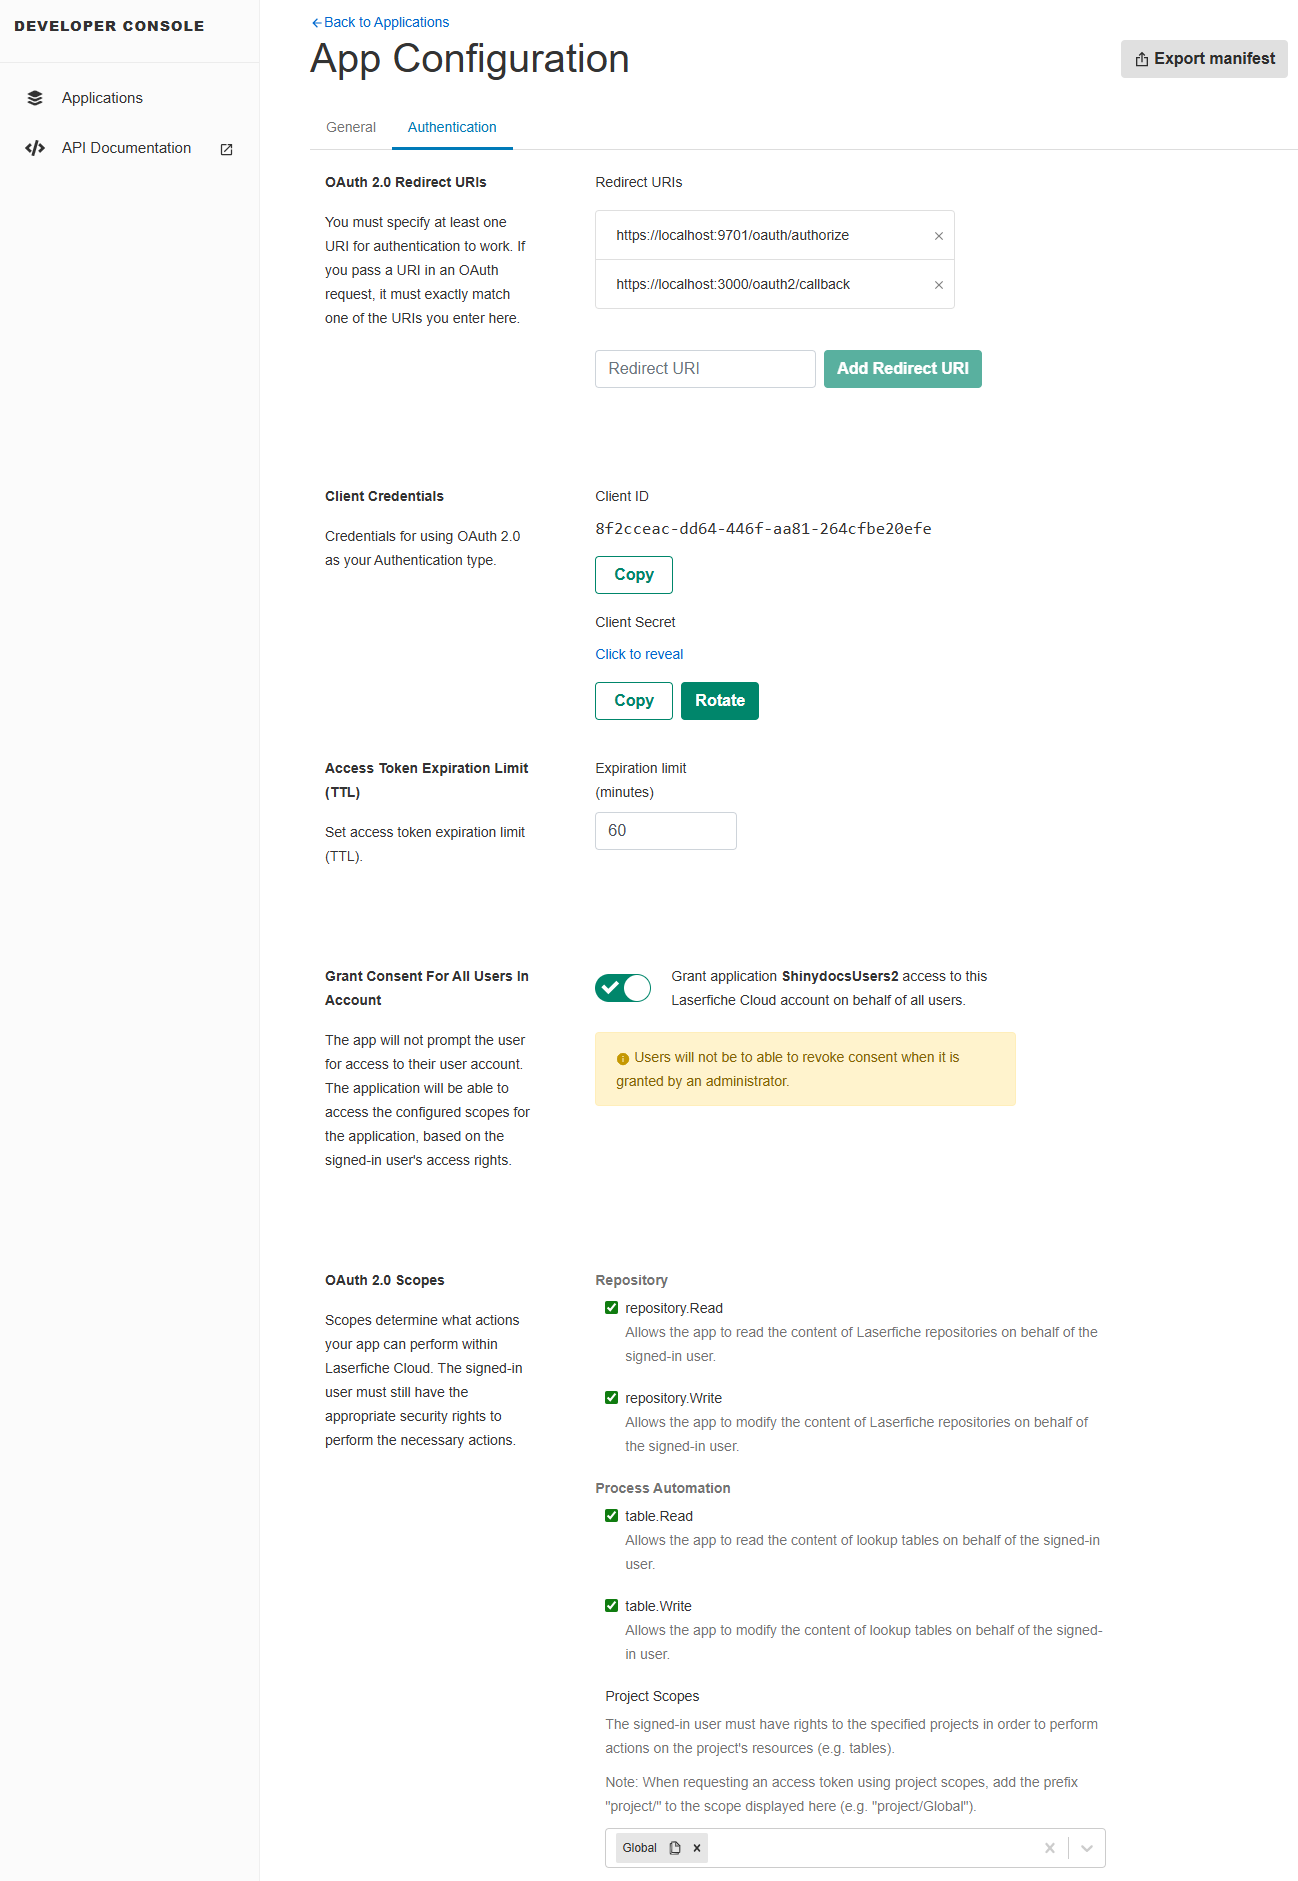
In the App Configuration, select the Authentication tab.
Set the redirect URIs. At a minimum include:
• https://localhost:9701/oauth/authorize
• https://localhost:3000/oauth2/callback
Note: localhost will only work on the server Shinydocs Pro is installed on. When you deploy Shinydocs Pro Control Center access, you will need to add additional URIs with your DNS/hostname instead of localhost! Setting up Shinydocs Control Center for Intranet AccessIn the Client Credentials section, click Click to reveal to see the Client Secret, ✏️ you will need this secret and the Client ID later.

Enable the option labeled:
Grant application ShinydocsUsers access to this Laserfiche Cloud account on behalf of all users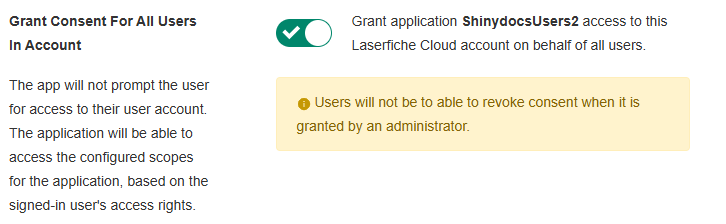
Select all OAuth 2.0 scopes again (same as your service application).
Click Save. Your configuration should look similar to this
You should now have everything required to analyze your Laserfiche environment:
✏️Service Principal Key
✏️Access key
✏️Client ID
✏️Client Secret
Step 2: Set up Laserfiche Source in Shinydocs Pro
Remember, you need to enabled this connector in /flags in Shinydocs Pro Control Center.
Laserfiche’s API does not support the retrieval of all fields available without significant API overhead which will worsen their API throttling. If you do wish to add all fields (increasing crawl time by at least 10x with more timeouts) you can enable Add all Laserfiche fields in /flags in Shinydocs Pro Control Center.
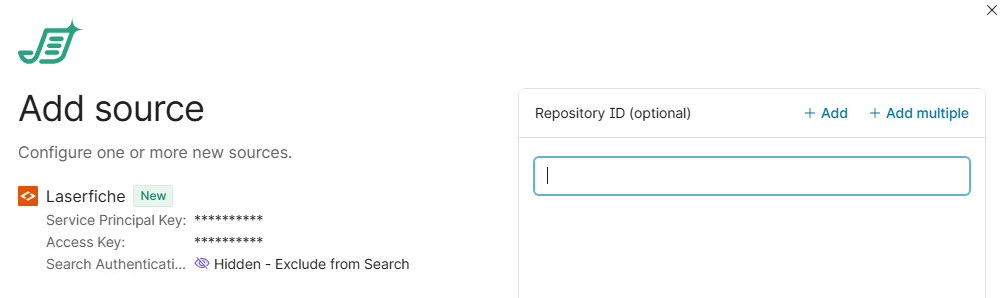
In Shinydocs Pro Control Center, click + Add Source
If this is your first source, you will already be in the Add Source wizard
Select Laserfiche from the list of options
Fill out the fields with the information you generated in Laserfiche
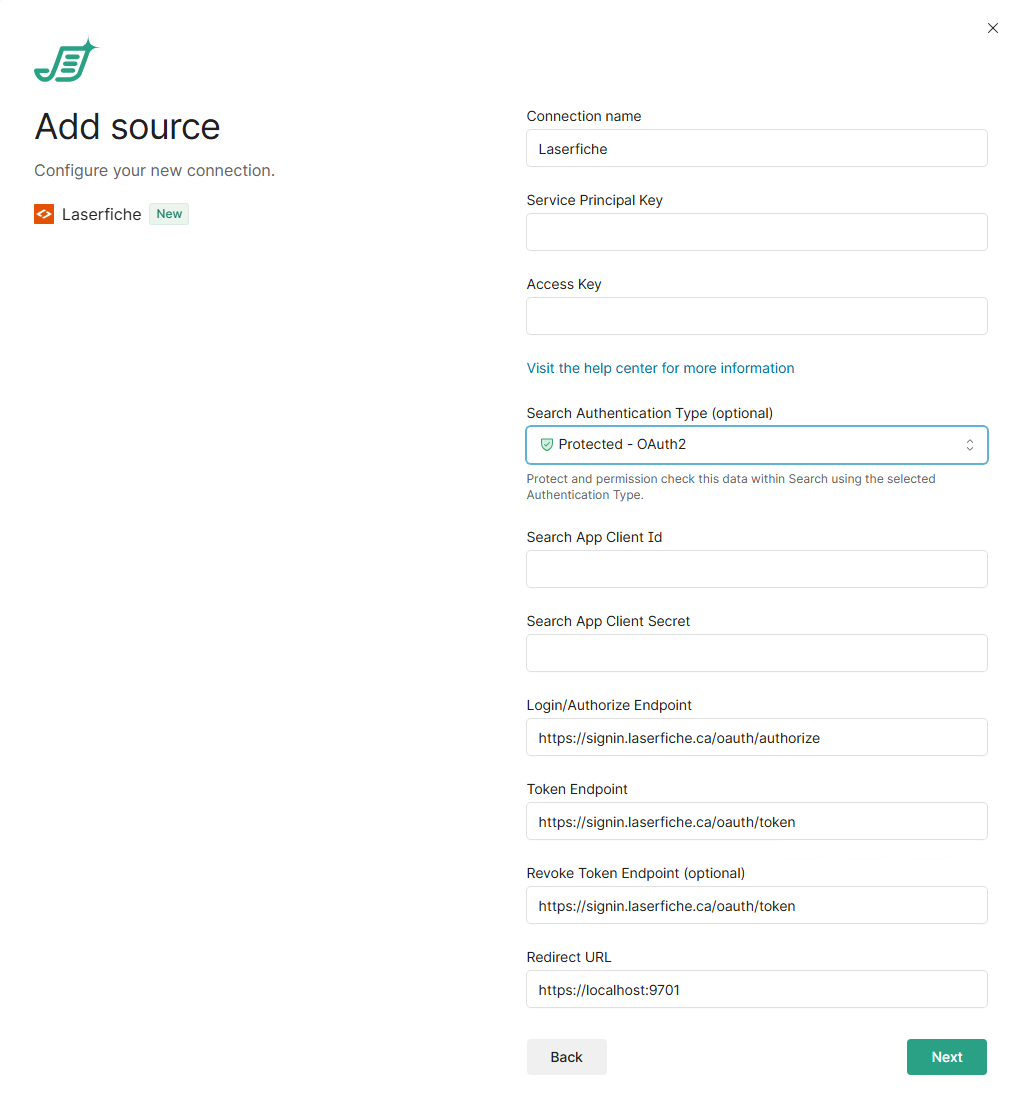
Connection name: Leave as Laserfiche or provide it a name you would like
Service Principal Key: Enter one of the Service Principal Keys that were generated earlier.
Access Key: Enter the access key that were generated earlier.
Note: this key is typically VERY longUnder Search Authentication Type, select Protected - OAuth2.
Search App Client ID: Enter the Client ID from the Laserfiche Web App creation
Search App Client Secret: Enter the Client secret from the Laserfiche Web App creation
Login/Authorize Endpoint: Leave as is if you use laserfiche.ca, otherwise update it to the URL you use (i.e. laserfiche.com).
Token Endpoint: Leave as is if you use laserfiche.ca, otherwise update it to the URL you use (i.e. laserfiche.com).
Revoke Token Endpoint: Leave as is if you use laserfiche.ca, otherwise update it to the URL you use (i.e. laserfiche.com).
Redirect URL:
https://localhost:9701
NOTE: You need to update the redirect URL in Shinydocs Pro, just like you need to do in Laserfiche when Shinydocs Pro Control Center is accessed outside of the server (Setting up Shinydocs Control Center for Intranet Access).
Click Next.
Now you can decide what you want to analyze in Laserfiche.
You can use the following inputs:
Leave the field blank to analyze all Laserfiche repositories
Use the text value of the repository you want to scan, or the repository ID (
r-<string>)
E.g. Your repository name is Shinydocs Corporation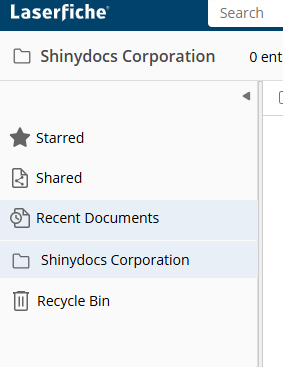
Shinydocs Corporationwould be the value you enter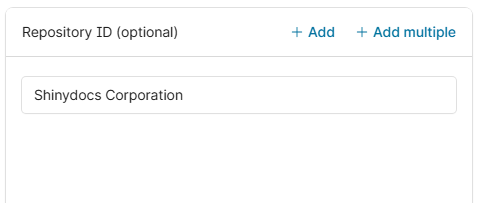
You can also get the repository ID in your browser URL:
CODEhttps://app.laserfiche.ca/laserfiche/Browse.aspx?repo=r-0001464db7c...In this case, the ID is
r-0001464db7c
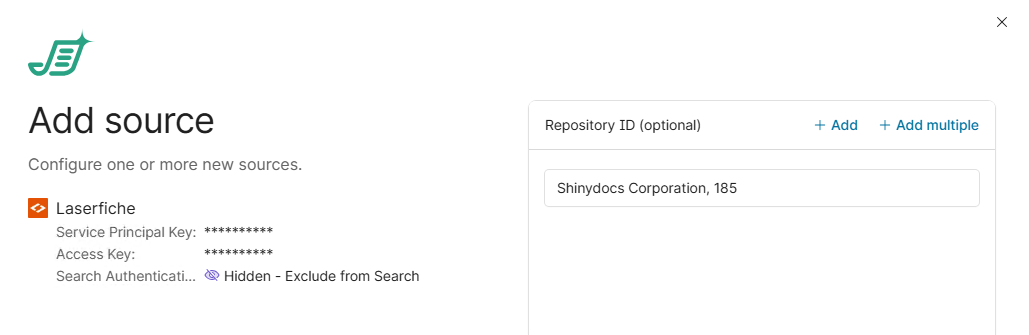
Use the text value of the repository (or repository ID) and the ID of the folder you want to analyze.
Repository, folderID
Folder IDs can be found in the Laserfiche UI by clicking the folder and viewing it’s details, or in the browser URL while in the folder
In this case, the ID of the folder I am in is 185
Click Start analysis, you’re now analyzing your Laserfiche content! It is also now searchable in Shinydocs Search.