Adding and Configuring Data Sources in Shinydocs Pro
Overview
Adding data sources in Shinydocs Professional enables the Shinydocs Control Center to analyze data within that source. Each source has different requirements when they are originally set up and the requirements for each source should be reviewed before proceeding.
You can follow this guide for your initial getting started source, or by clicking + Add source in the Sources tab.
Note: You can have multiple sources of the same type (File system, SharePoint Online, etc.). Each source configured can have multiple paths/sites/etc. set.
Requirements
Source type | Requirements |
File System |
The service account requires interactive logon enabled (Group Policy dependant) |
iManage |
|
SharePoint Online |
|
For more information registering Shinydocs Control Center in iManage click here.
For more information registering Shinydocs Control Center in Azure for SharePoint Online click here.
File system
Review requirements for File system analysis.
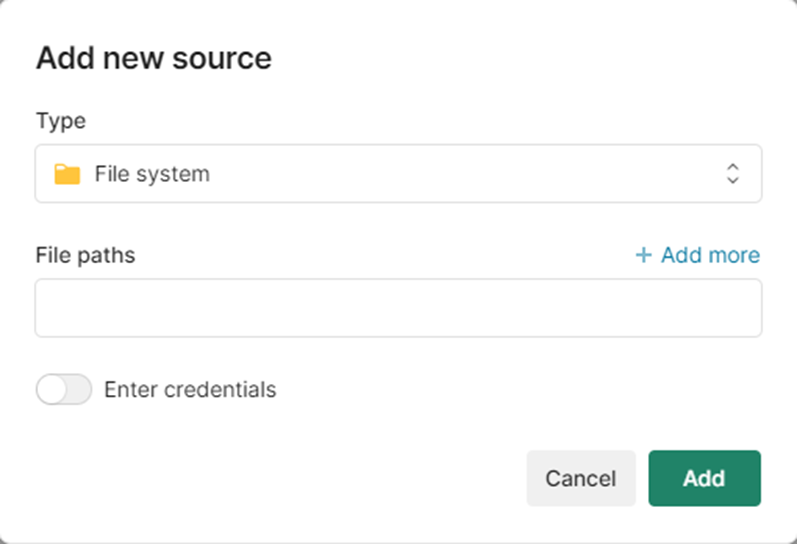
Under Add new source, select the Type File system.
In the File paths field, enter or paste the path to analyze.
If you have more than one path to analyse, click + Add more to add additional paths to this source.
If you need to use another account other than Local System, enable Enter credentials to provide the username and password for the account.
Click Add.
The new source will start to be analysed momentarily. You can check the progress in the Sources tab in Shinydocs Control Center.
iManage
Review the requirements for iManage analysis
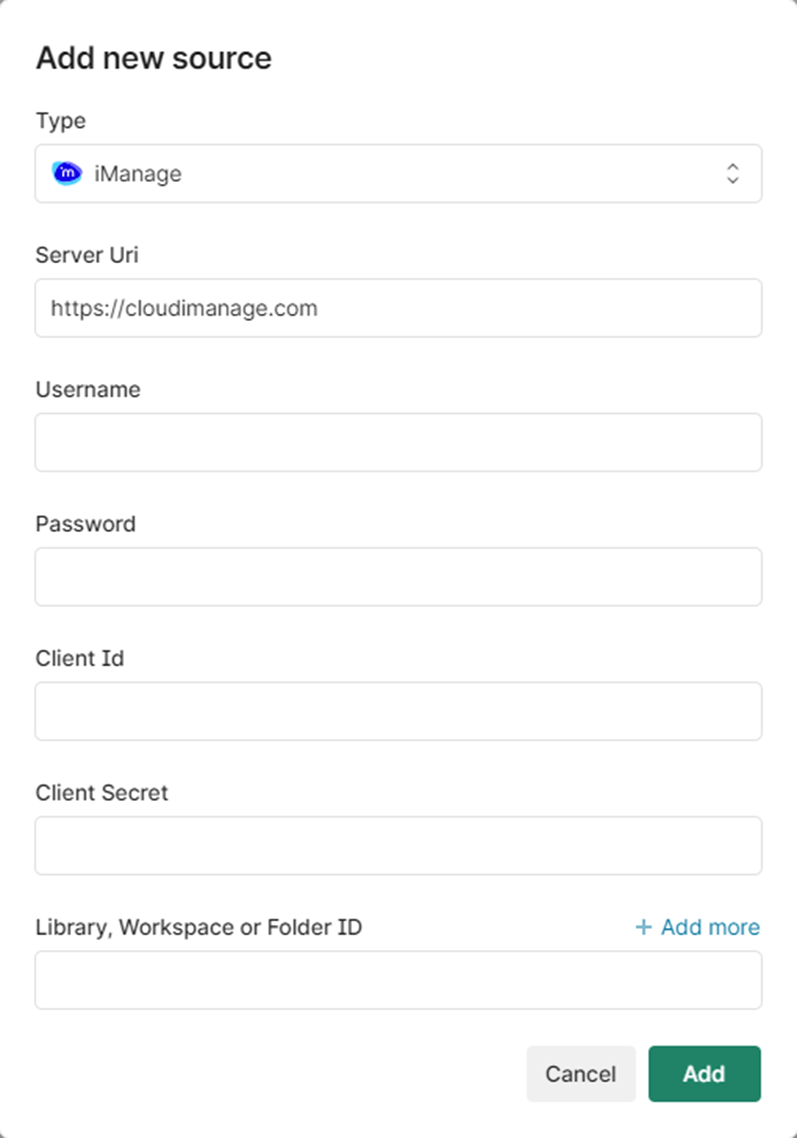
Enter the following information from your iManage instance:
Server Uri: the main site to access your iManage space (typically https://cloudimanage.com )
Username: the username of the authorized account in iManage
Password: the password of the authorized account in iManage
Client Id: ID string provided by iManage when you registered the application
Client secret: secret string provided by iManage when you registered the application
Under Library, Workspace or Folder ID enter by name the Library or Workspace, or the Folder ID string. Click + Add more to add additional locations to this source.
Click Add to add the source to Shinydocs Control Center.
SharePoint Online
Review the requirements for SharePoint Online analysis.
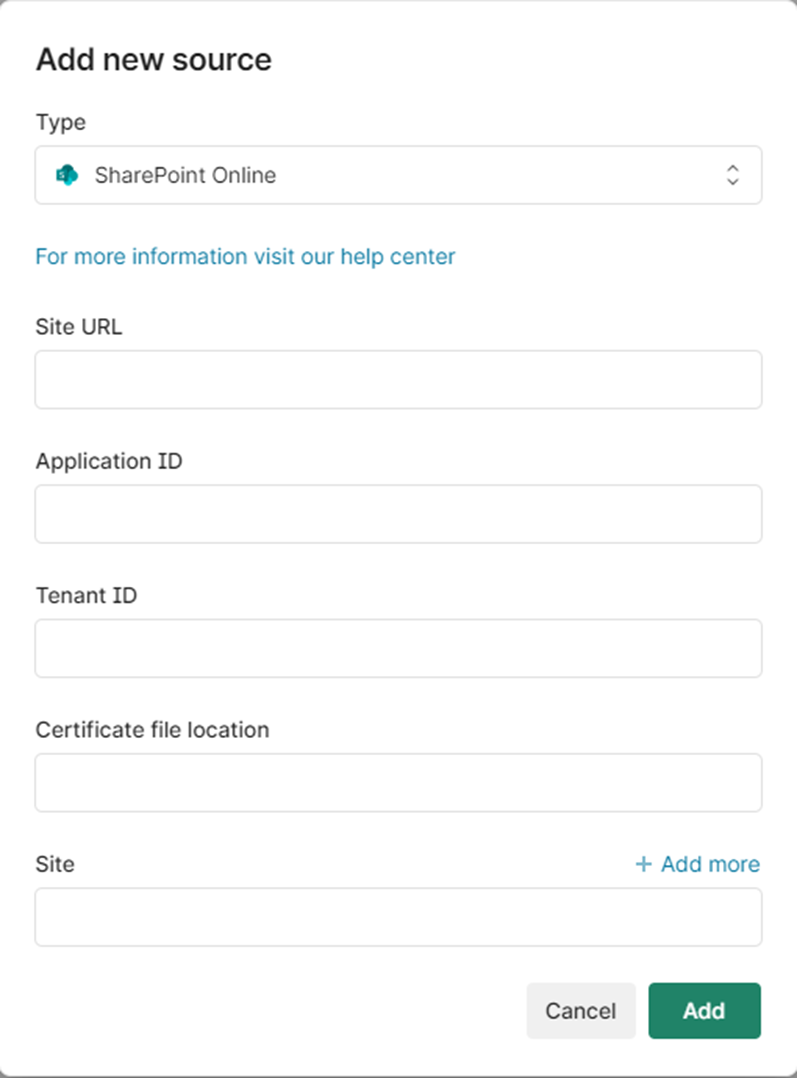
Enter the following information from your Azure instance:
Site URL: The main root URL of your SharePoint instance (ex. https://acme.sharepoint.com).
Application ID: The application ID provided by registering the application in Azure.
Tenant ID: The tenant ID provided by registering the application in Azure.
Certificate file location: Full file path to the certificate generated by registering the application in Azure. Do not wrap the path in “double-quotes”.
Under Site enter the specific site you want to analyze in this source (ex. https://acme.sharepoint.com/sites/Communications ). Click + Add more to add additional locations to this source.
Click Add to add the source to Shinydocs Control Center.
Additional information
Configuring Azure Authentication for Microsoft SharePoint Online