Shinydocs Pro Installation Guide
2025-09-03 - WIP
Ensure that the Shinydocs Pro Pre-Installation Checklist has been followed and the hardware meets or exceeds the requirements before beginning the setup process.
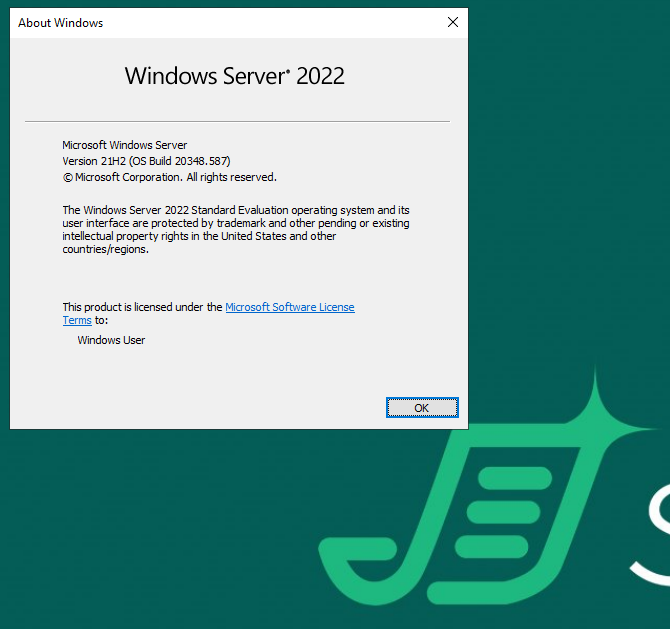
These steps have been completed on a fresh installation of Windows Server 2022, with some basic administrative tools installed, such as Chocolatey, Notepad++, 7-Zip, and WinMerge for convenience, but these are not prerequisites.
Pre-installation Reading
Suggested Tools
These tools, when installed on the server, help with the success of installation and troubleshooting.
• Notepad++ (64-bit)
• 7-Zip
Prerequisites
Shinydocs Pro Pre-installation Checklist
The main item to note here is that we recommend using a service account with read (for scanning) and write (for file deletion) access.
Endpoint Protection Considerations for Shinydocs Pro
The Shinydocs Pro Service Account
This account must be a Domain account and an Administrator on the Shinydocs Pro server.
This account must have Read rights to all files and folders of the file shares that will be targeted. This account must have Logon as a Service privileges on the Shinydocs Pro Server
The setup should be performed using this account to ensure access is established.
Accounts and credentials used to access remote file system resources must have Interactive Logon capability.
Final Checklist
Please ensure that the user account to initiate this installation, the logged-on user, is the Windows Domain Service Account created as a prerequisite.
Download and/or copy the installation file to the target server as the service account user.
Download and/or copy the provided license (.xml) file to the target server as the service account user.
Downloading the Installer and Starting Setup
Ensure a service account is created for use by the services, while uncommon to do so, the username cannot be the same as the server name.
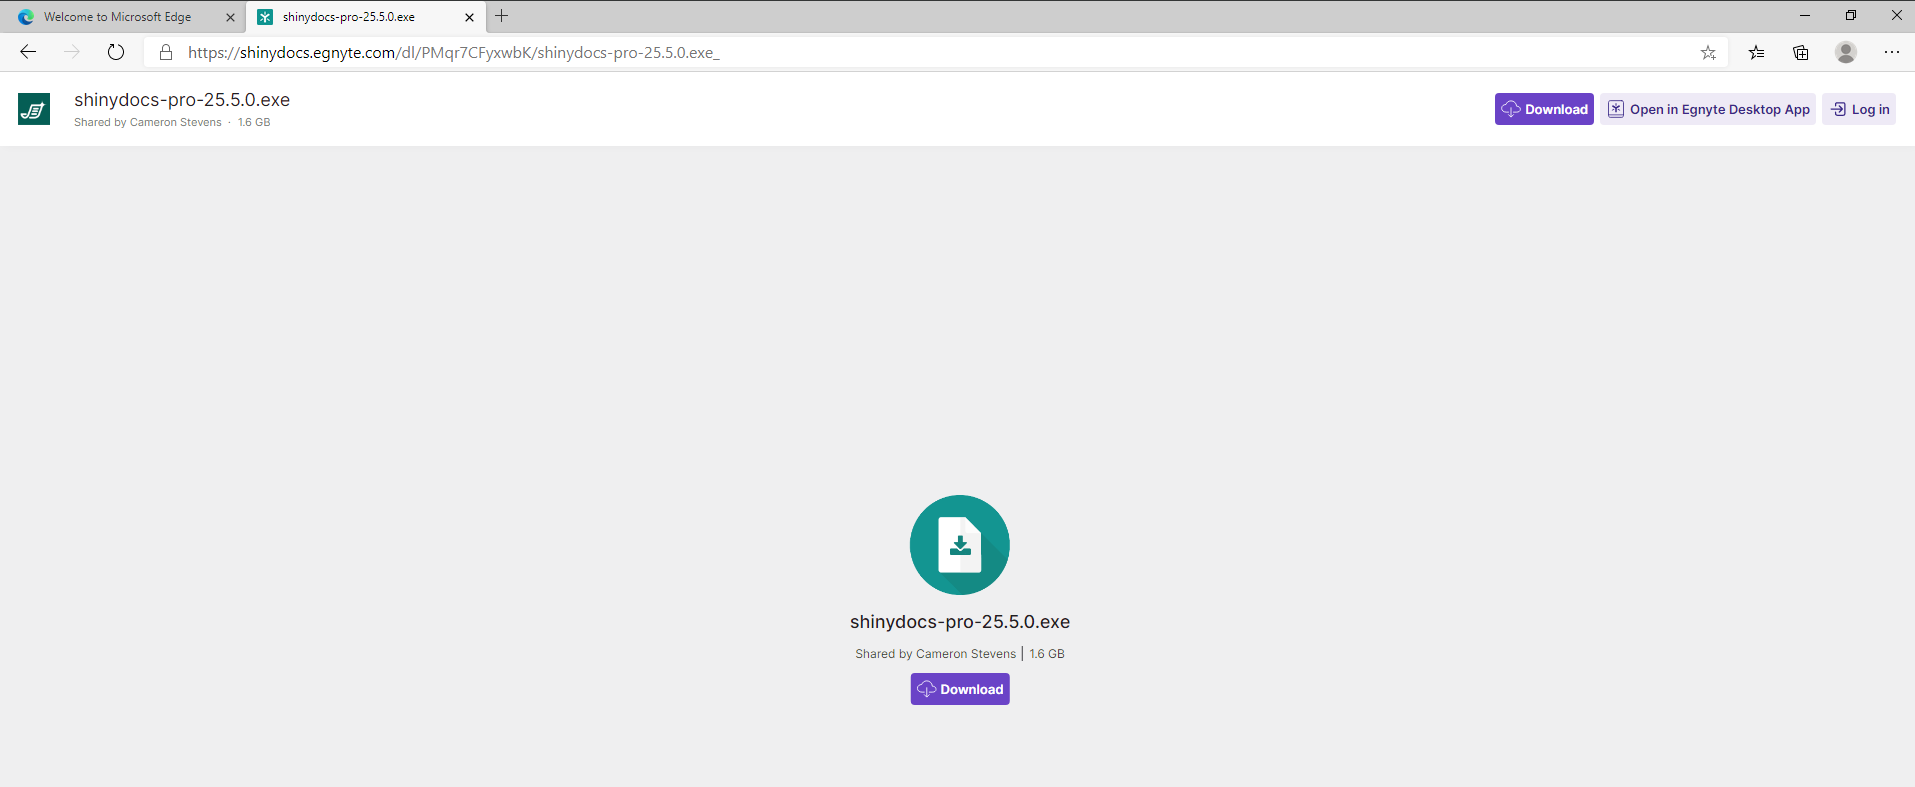
Download the Shinydocs Pro installer and place in the Downloads folder on the new Shinydocs Pro Server. You will be provided a download URL by Shinydocs Customer Support.
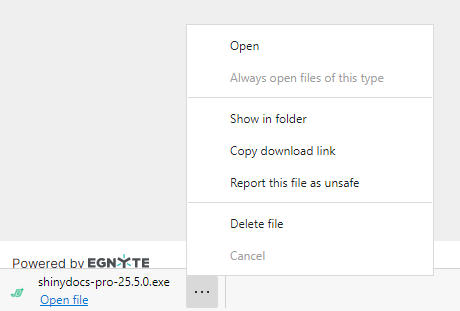
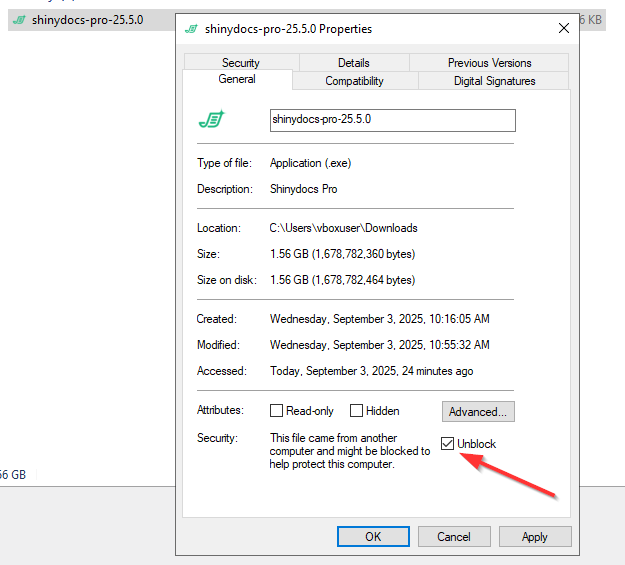
Once completed, locate the downloaded file.
Right-Click on the file and open Properties…
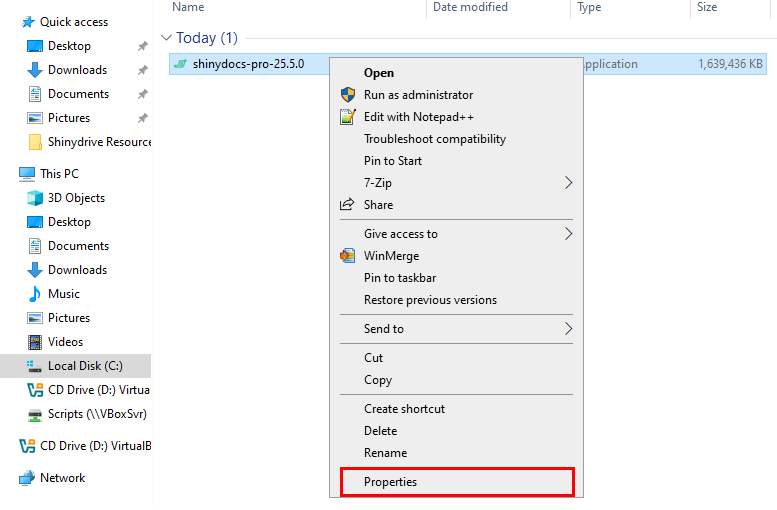
Select Unblock, then OK to unblock the file. This is an important step.
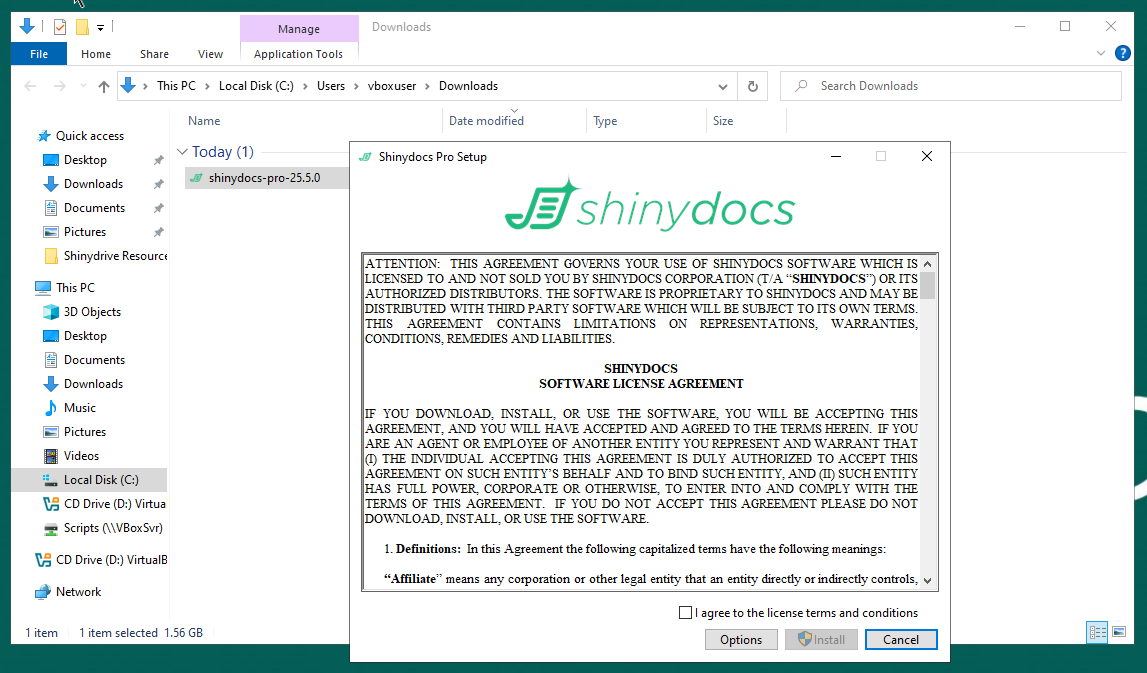
Double-click on the Shinydocs Pro Installer to begin.
|
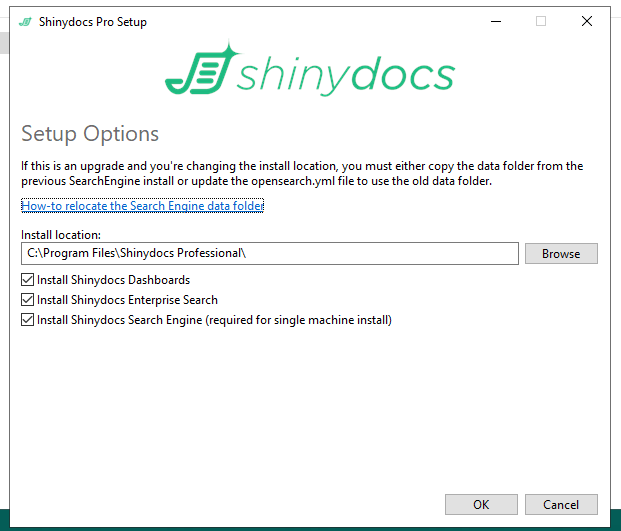
Important: If you are installing Shinydocs Pro to an APPS drive, i.e. E:\, click on Options at the bottom of this dialog to set the location. |
|---|
The Options dialog allows for the customized installation location and, when upgrading, selective inclusion of components that are a time-consuming installation, and redundant in most upgrades.
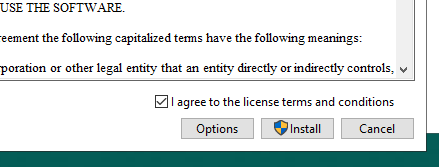
Click on OK when ready. You will need to agree to the license terms and conditions, then click on Install to proceed.
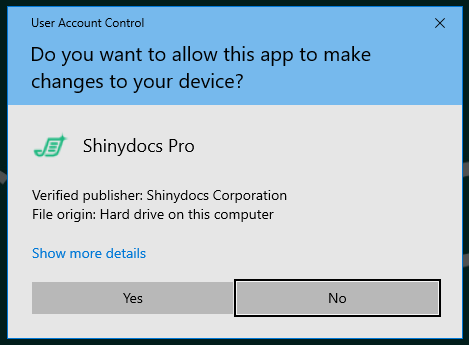
Windows Server will verify elevated access
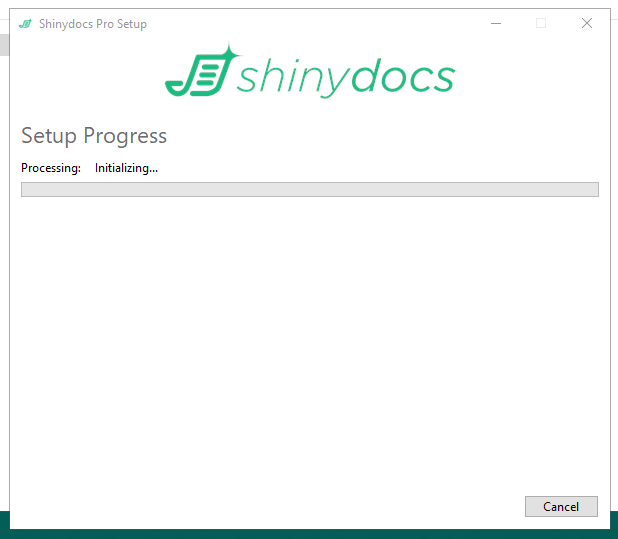
The install will commence…
You may be prompted for any prerequisites as necessary, the full installation may take up to 40 minutes, but is often less. An active endpoint protection tool, such as anti-malware or anti-virus, can slow things down though.

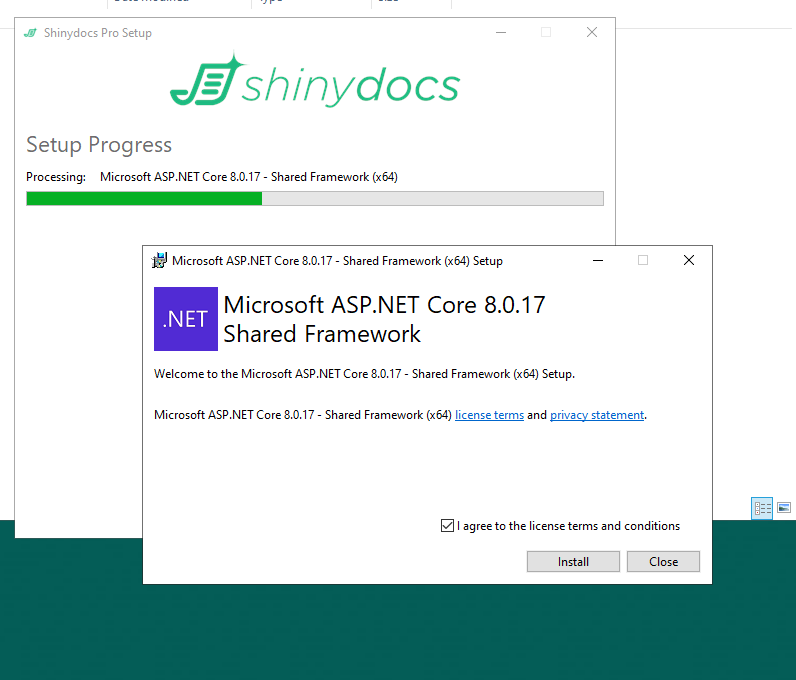
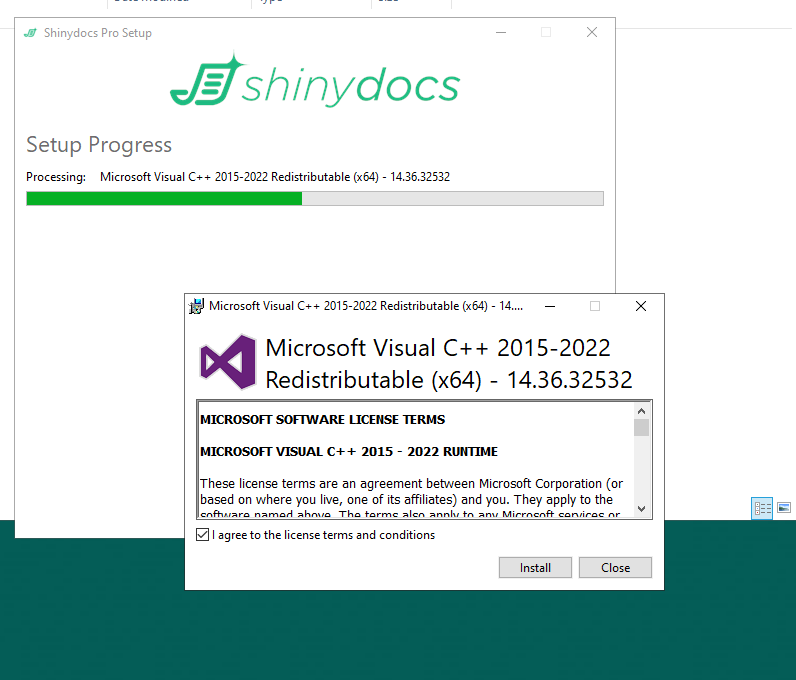
Please approve these manually to proceed.
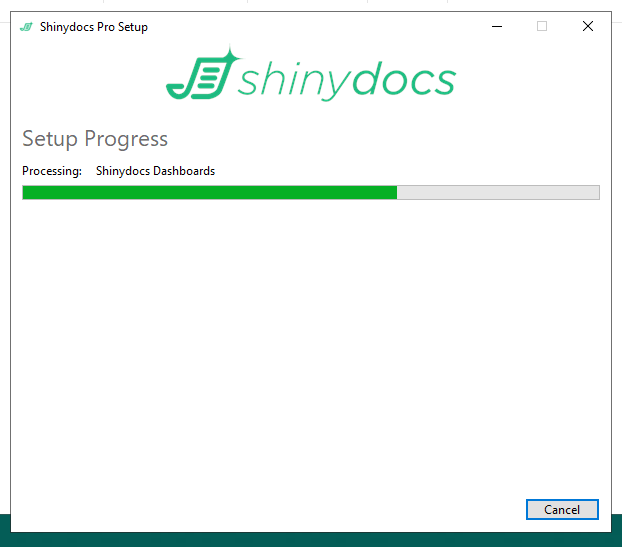
The Shinydocs Dashboards will take a significant amount of time (~20 minutes), in the background the installer is unpacking many small files and this is time consuming.
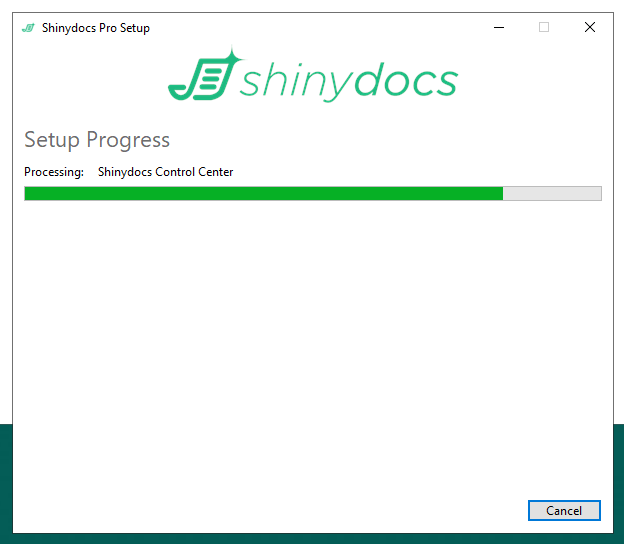
Almost done…
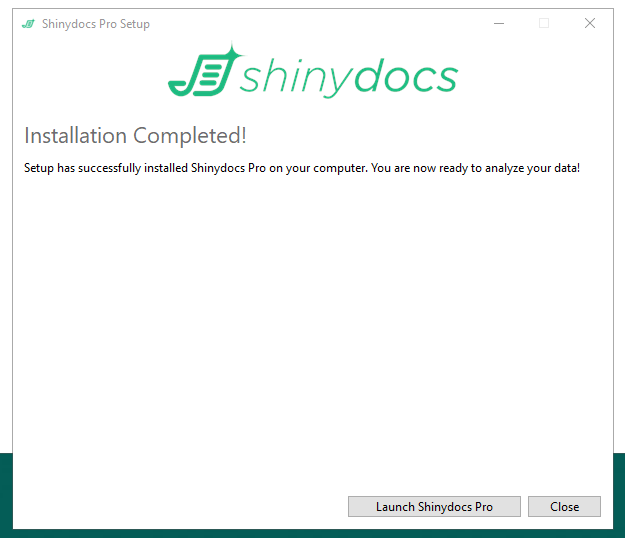
The installation is complete. Click on Launch Shinydocs Pro…
If available, locate and load your license file, click on Choose file.
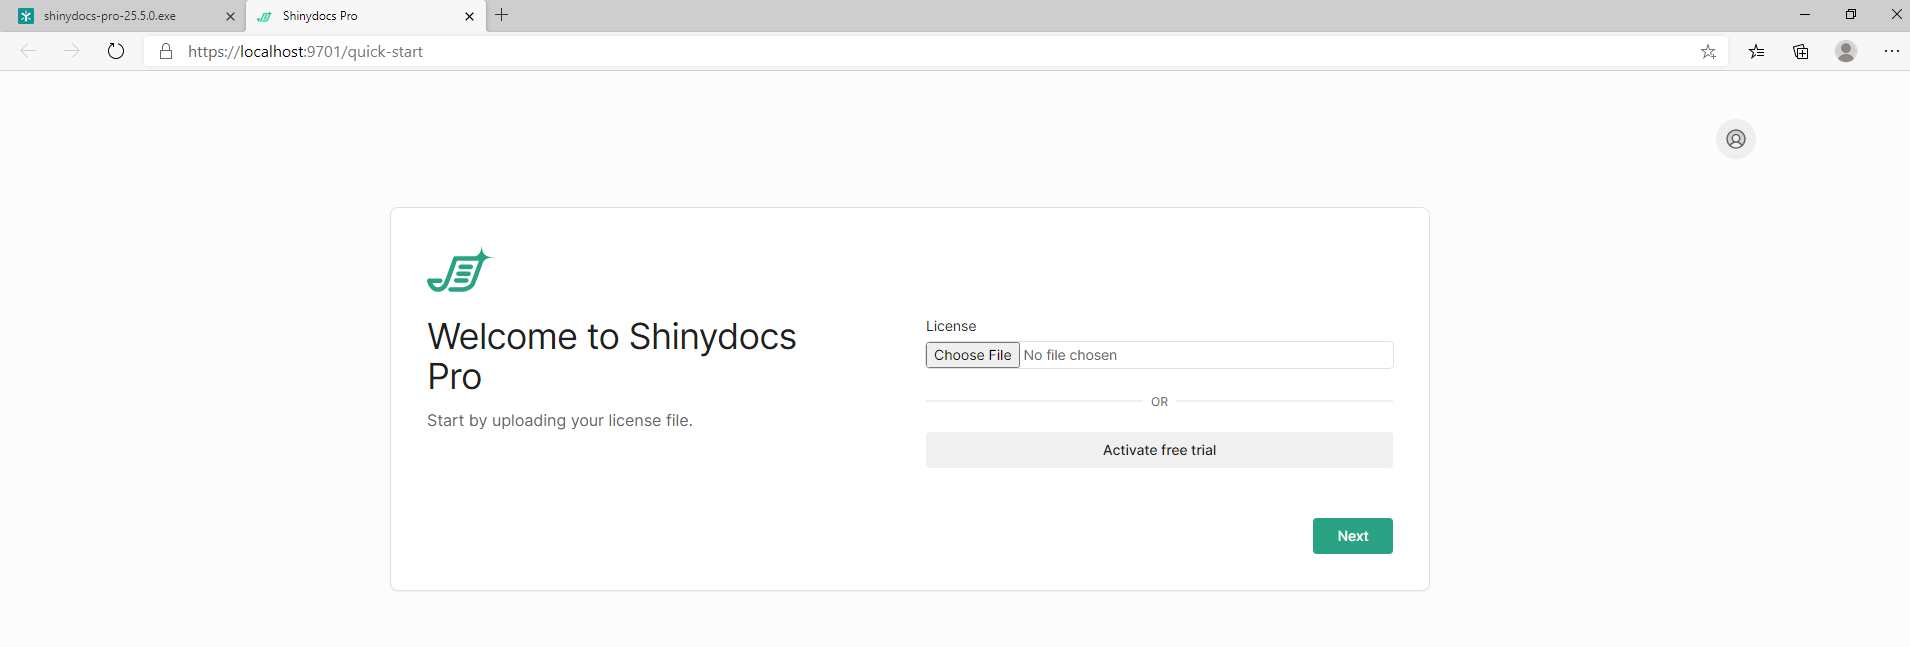
Click Next…

We recommend our customers start with a file share to become familiar with the features of Shinydocs Pro. More information is available here: 🛠️Configure Content Sources
Shinydocs Pro is now installed.
Further Reading: Shinydocs Pro Control Center Guide (old)