Ensure that the Shinydocs Pro Pre-Installation Checklist has been followed and the hardware meets or exceeds the requirements before beginning the setup process.
These steps have been completed on a fresh installation of Windows Server 2022, with some basic administrative tools installed, such as Chocolatey, Notepad++, 7-Zip, and WinMerge for convenience, but these are not prerequisites.
Pre-installation Reading
-
Do you expect more than 10 TB of content for Shinydocs Pro to analyze? You should increase the JVM memory of the Search Service after installation: Increasing Search Engine Service Memory Allocation
Suggested Tools
These tools, when installed on the server, help with the success of installation and troubleshooting.
• Notepad++ (64-bit)
• 7-Zip
Prerequisites
Shinydocs Pro Pre-installation Checklist
-
The main item to note here is that we recommend using a service account with read (for scanning) and write (for file deletion) access.
-
Endpoint Protection Considerations for Shinydocs Pro
-
The Shinydocs Pro Service Account
-
This account must be a Domain account and an Administrator on the Shinydocs Pro server.
-
This account must have Read rights to all files and folders of the file shares that will be targeted. This account must have Logon as a Service privileges on the Shinydocs Pro Server
-
The setup should be performed using this account to ensure access is established.
-
Accounts and credentials used to access remote file system resources must have Interactive Logon capability.
-
Final Checklist
Please ensure that the user account to initiate this installation, the logged-on user, is the Windows Domain Service Account created as a prerequisite.
Download and/or copy the installation file to the target server as the service account user.
Download and/or copy the provided license (.xml) file to the target server as the service account user.
Downloading the Installer and Starting Setup
-
Ensure a service account is created for use by the services, while uncommon to do so, the username cannot be the same as the server name.
-
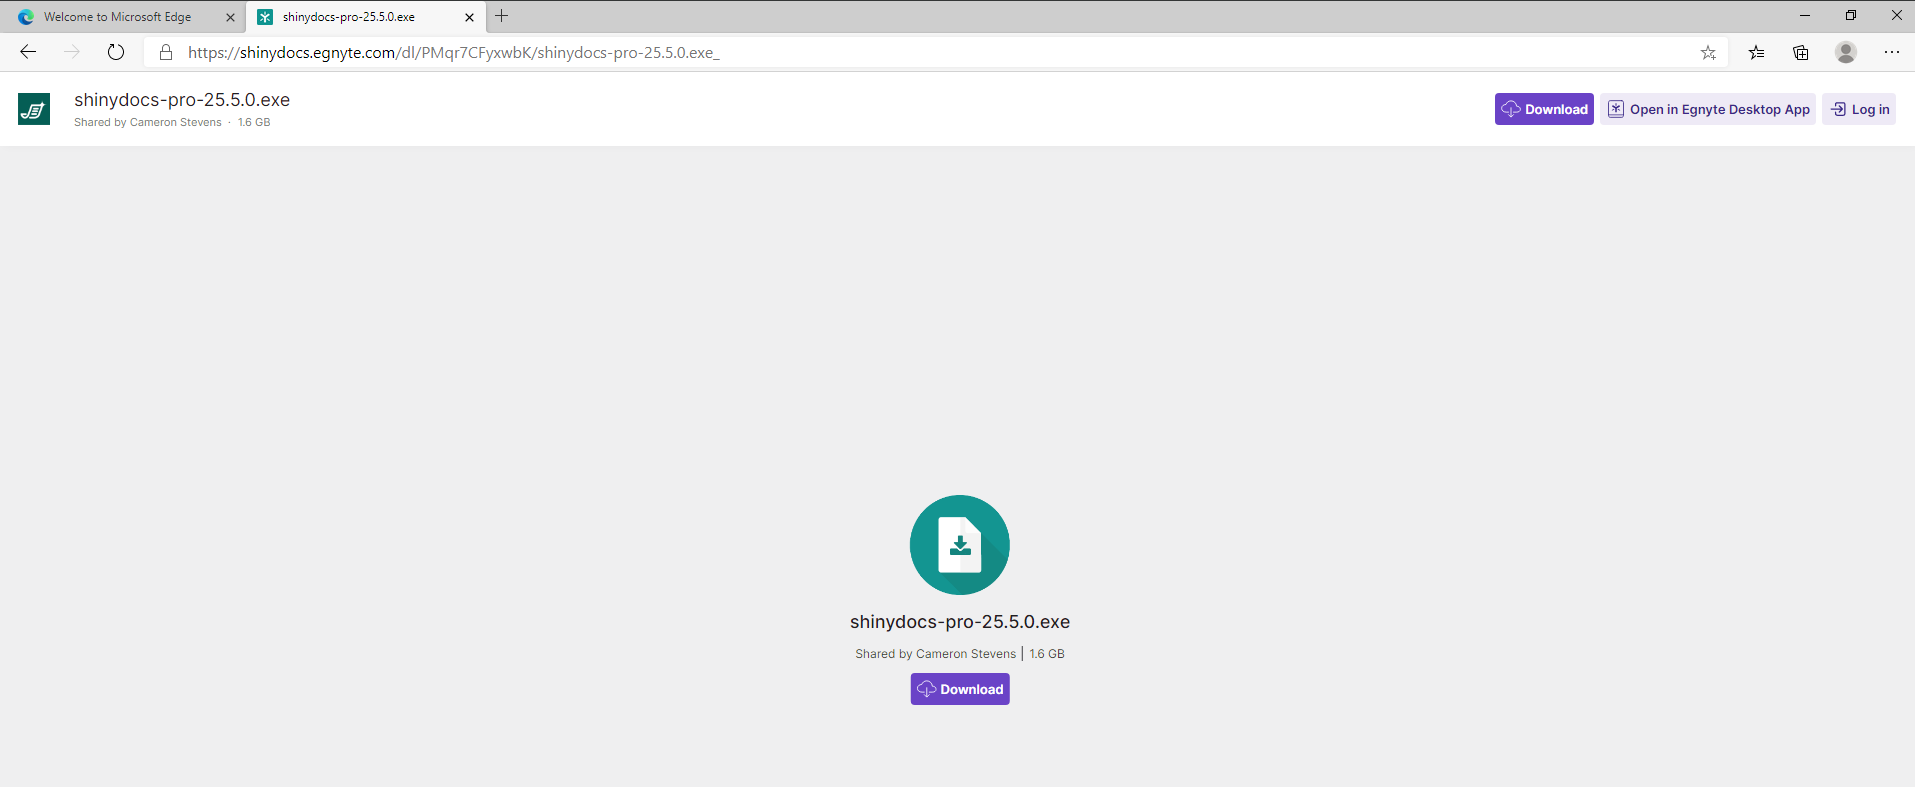
Download the Shinydocs Pro installer and place in the Downloads folder on the new Shinydocs Pro Server. You will be provided a download URL by Shinydocs Customer Support.
-
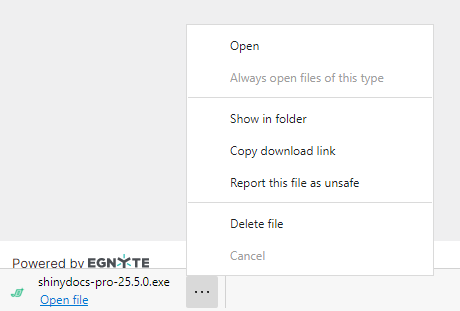
Once completed, locate the downloaded file.
-
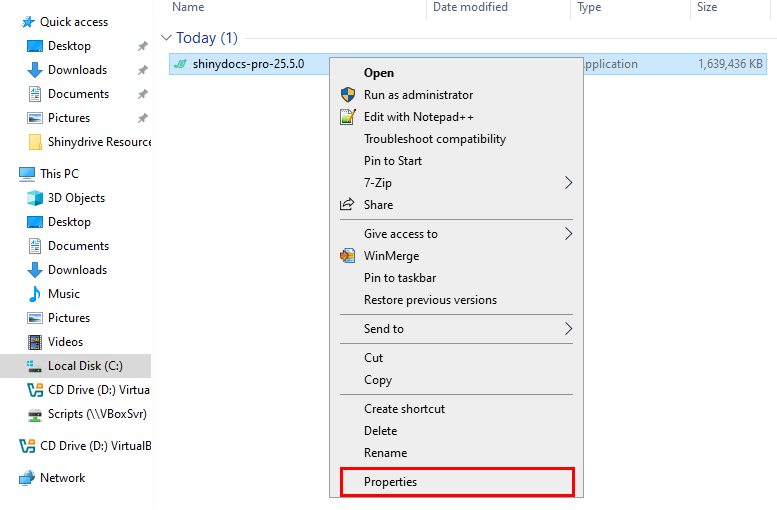
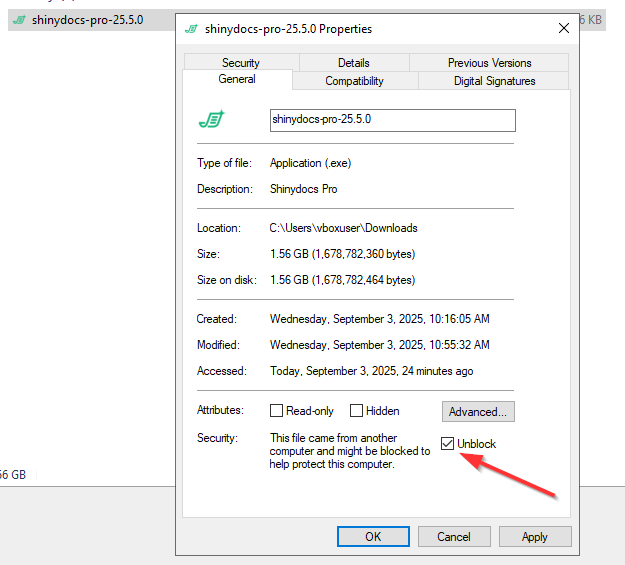
Right-Click on the file and open Properties…
-
Select Unblock, then OK to unblock the file. This is an important step.
-
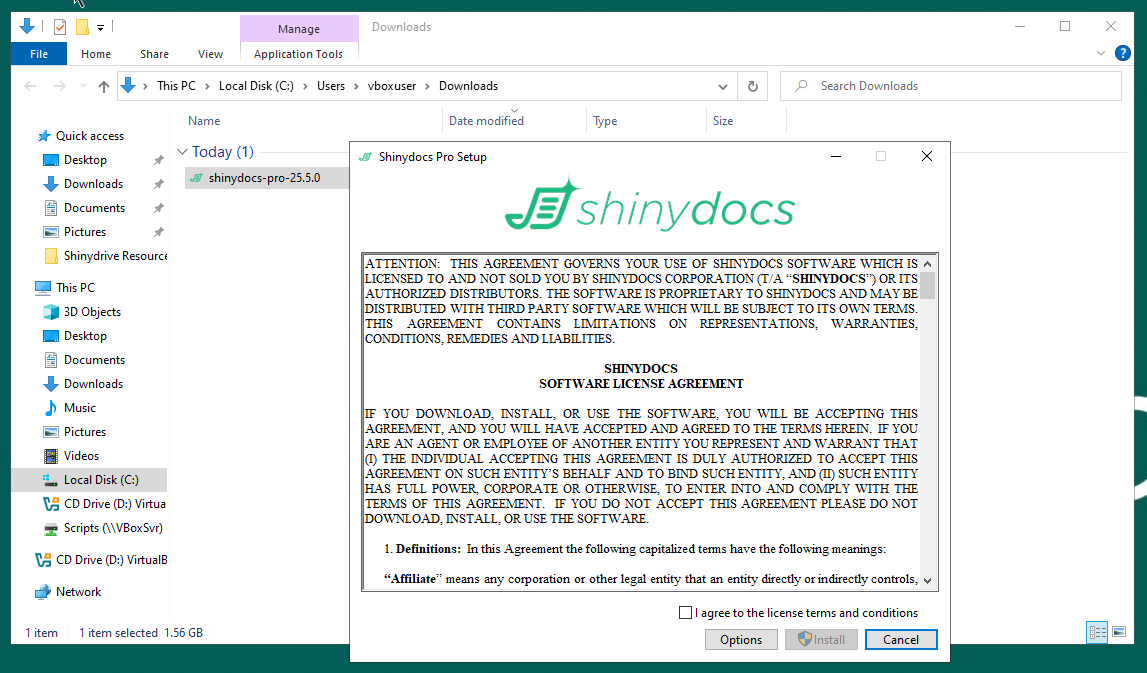
Double-click on the Shinydocs Pro Installer to begin.
|
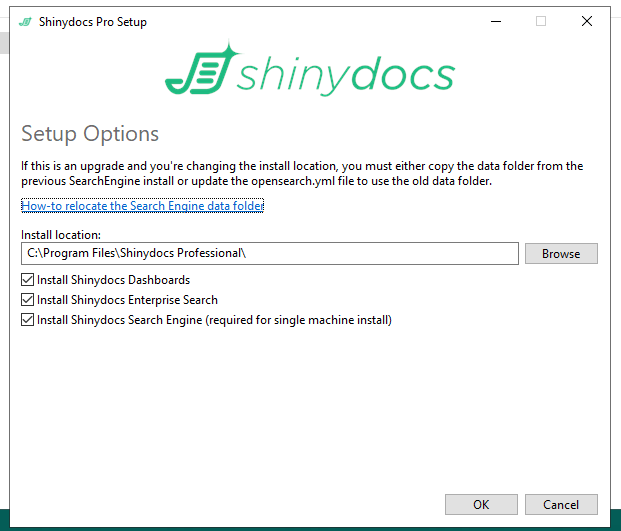
Important: If you are installing Shinydocs Pro to an APPS drive, i.e. E:\, click on Options at the bottom of this dialog to set the location. |
|---|
-
The Options dialog allows for the customized installation location and, when upgrading, selective inclusion of components that are a time-consuming installation, and redundant in most upgrades.
-
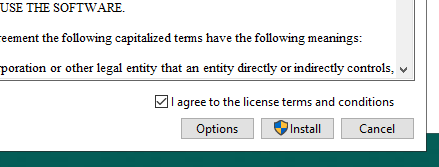
Click on OK when ready. You will need to agree to the license terms and conditions, then click on Install to proceed.
-
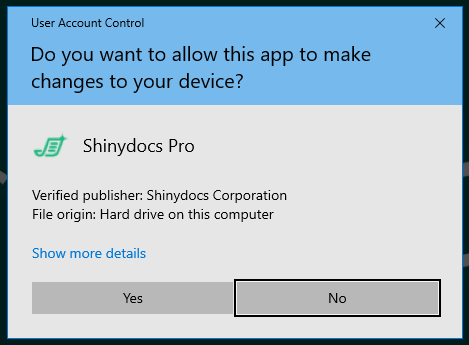
Windows Server will verify elevated access
-
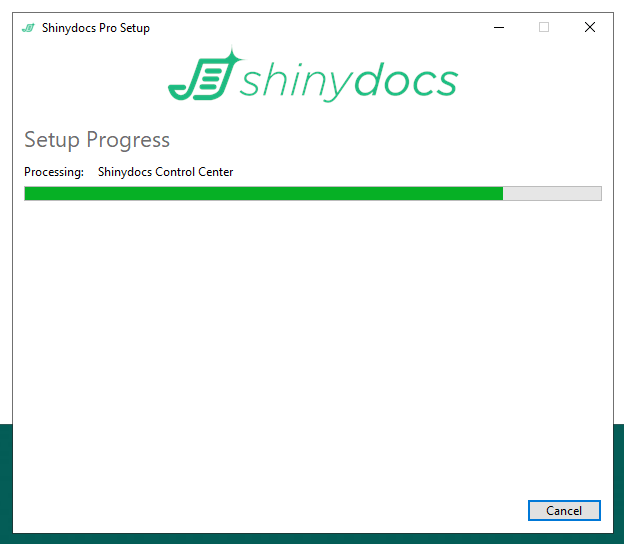
The install will commence…
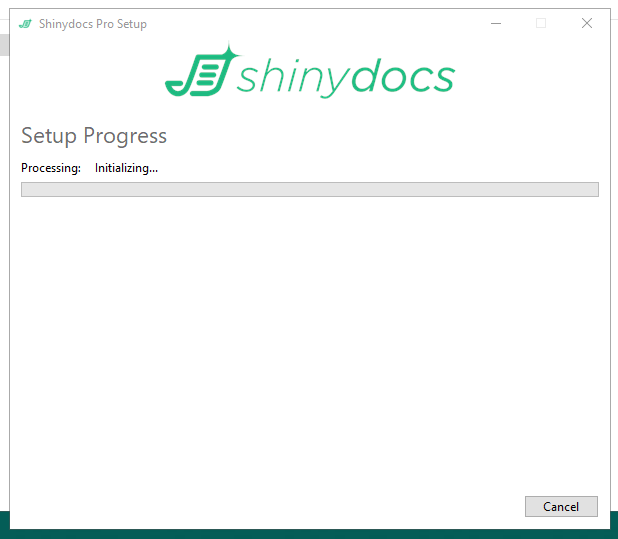
-
You may be prompted for any prerequisites as necessary, the full installation may take up to 40 minutes, but is often less. An active endpoint protection tool, such as anti-malware or anti-virus, can slow things down though.

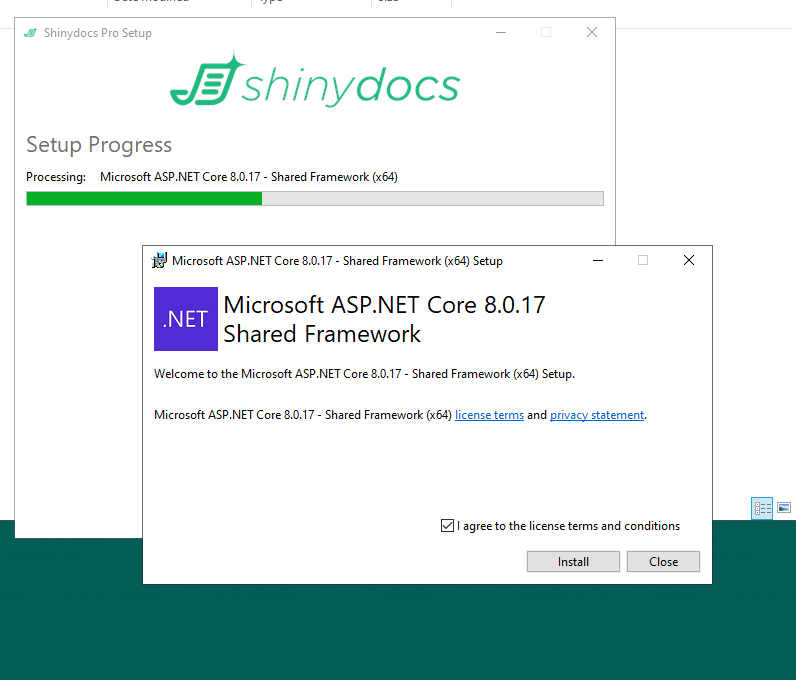
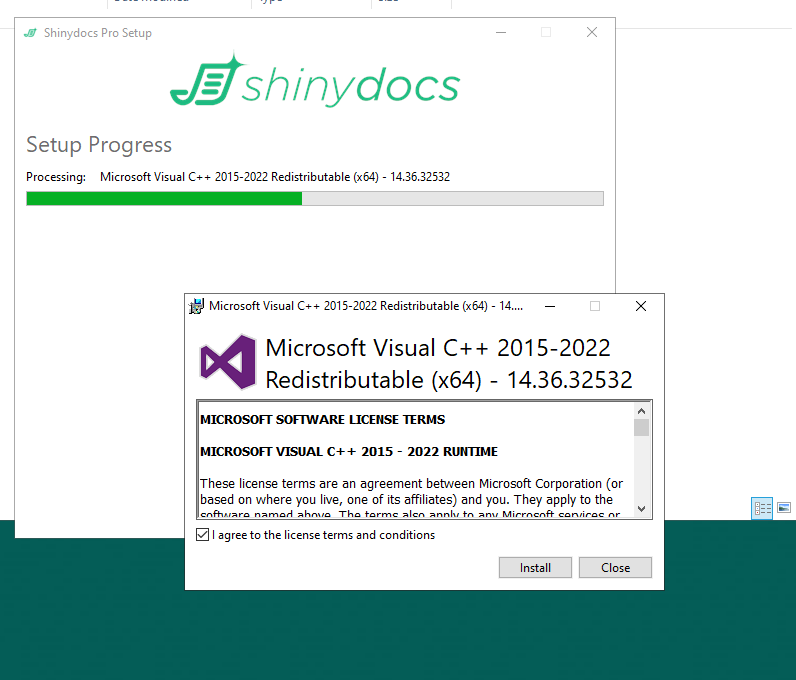
Please approve these manually to proceed.
-
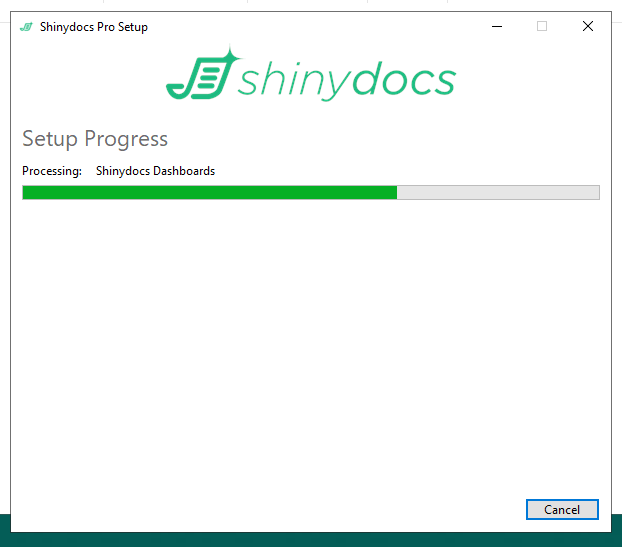
The Shinydocs Dashboards will take a significant amount of time (~20 minutes), in the background the installer is unpacking many small files and this is time consuming.
-
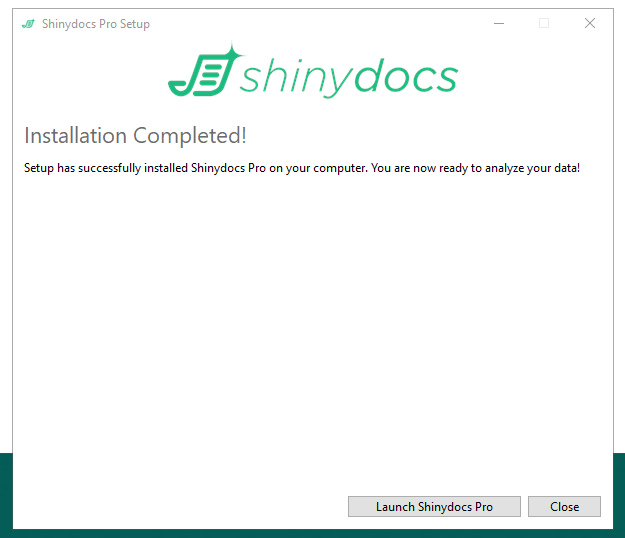
Almost done…
-
The installation is complete. Click on Launch Shinydocs Pro…
-
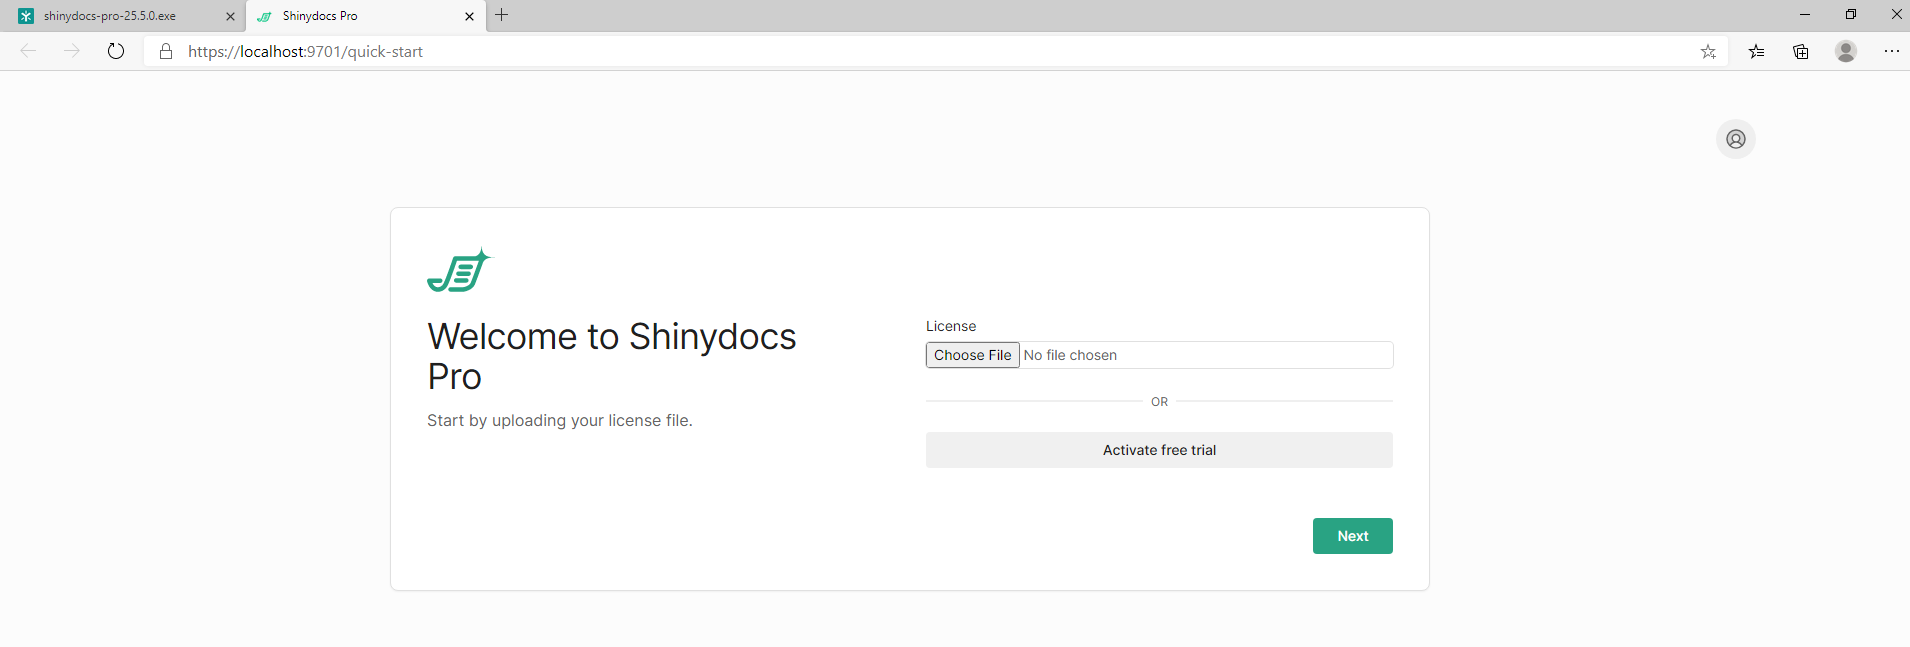
If available, locate and load your license file, click on Choose file.
-
Click Next…
-
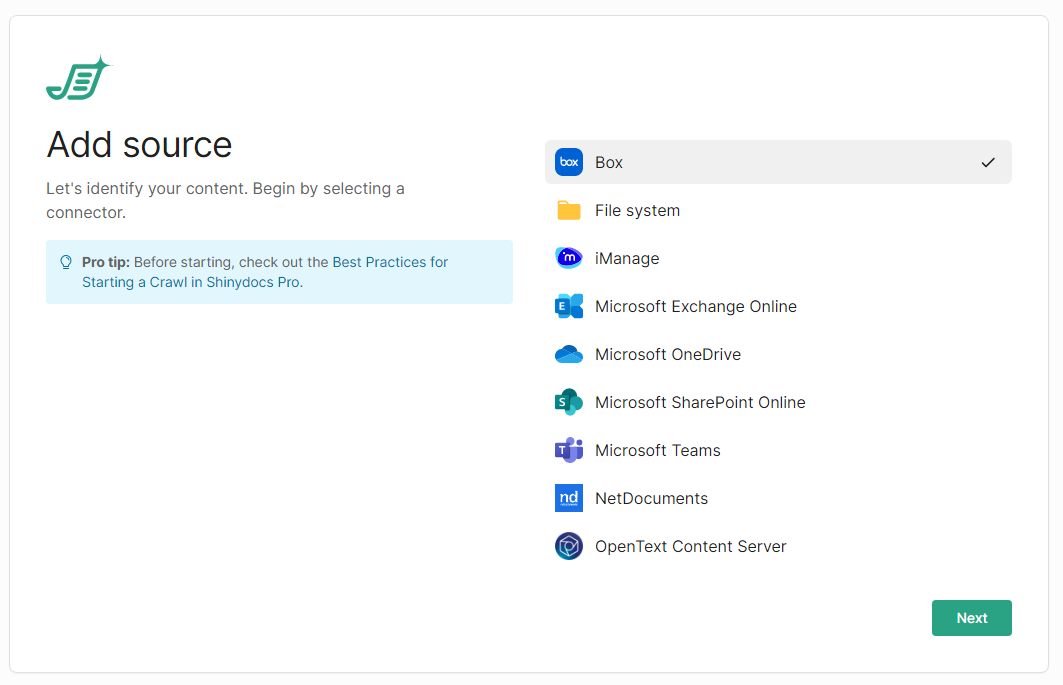
We recommend our customers start with a file share to become familiar with the features of Shinydocs Pro. More information is available here: 🛠️Configure Content Sources
-
Shinydocs Pro is now installed.
Important
Please follow this article to ensure OpenSearch is provisioned properly for your system:
Increasing Search Engine Service Memory Allocation (Heap Size)
Further Reading: Shinydocs Pro Control Center Guide